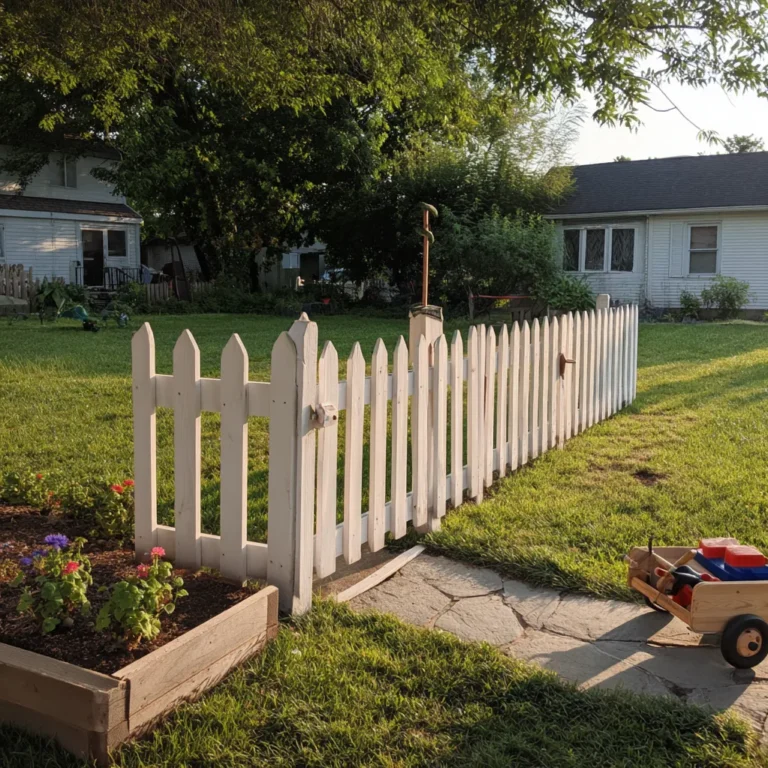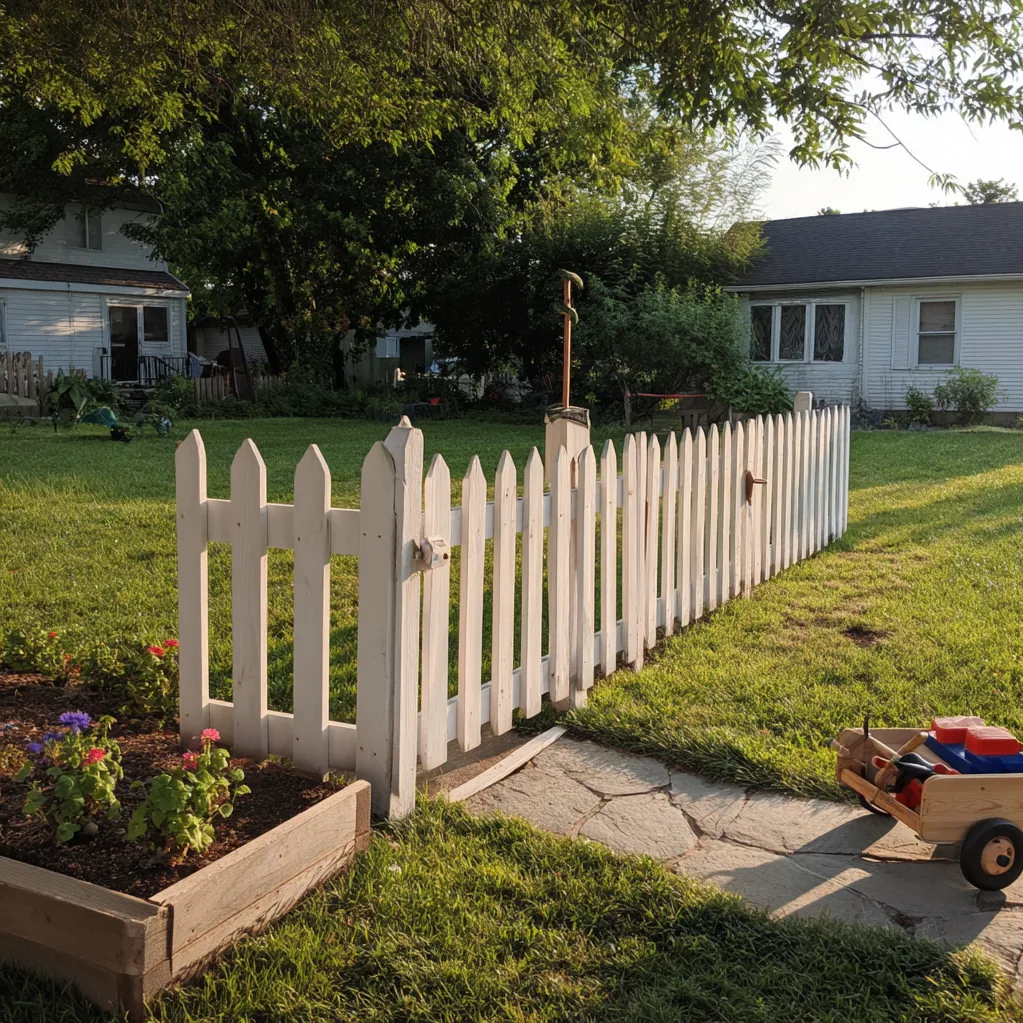
Are you dreaming of a charming, classic yard but worried about the cost? You’re not alone. Many homeowners adore the timeless appeal of a picket fence—it evokes nostalgia, defines property lines, and adds curb appeal without feeling imposing. However, store-bought options can drain your wallet, leaving you hesitant to take the plunge. That’s where cheap DIY picket fence ideas come in! By tackling this project yourself, you’ll save a bundle and gain the satisfaction of crafting something beautiful with your own hands. Think of it: a white-washed fence lining your garden or a rustic wooden barrier that invites compliments from neighbors. It’s not just about aesthetics; a well-built fence can increase your home’s value and provide a safe space for kids and pets to play. In today’s economy, smart, budget-friendly projects like this are more relevant than ever. With a bit of creativity and some basic tools, you can achieve that picture-perfect look without breaking the bank. This article will guide you through affordable materials, simple designs, and step-by-step tips to make your dream fence a reality. Let’s dive into how you can transform your outdoor space with these inspiring cheap DIY picket fence ideas.
Budget-Friendly Materials for Your Cheap DIY Picket Fence
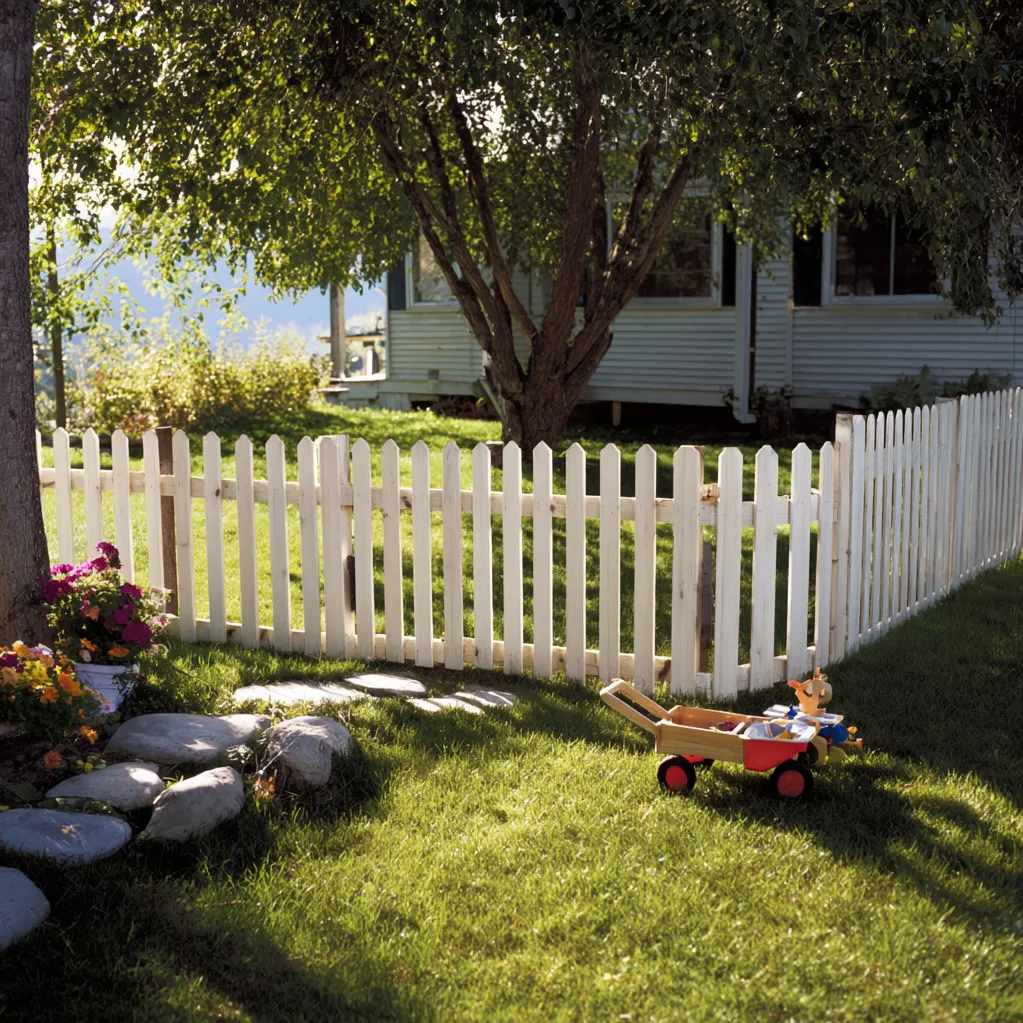
When it comes to cheap DIY picket fence ideas, the materials you choose are key to keeping costs low. Start with reclaimed wood—it’s often free or inexpensive from sources like old pallets, barns, or construction sites. Pallet wood, in particular, is sturdy and easy to repurpose; just sand it down to remove splinters and give it a fresh coat of paint. Another great option is pressure-treated pine, which is durable and resistant to rot, making it ideal for outdoor use. You can find it at home improvement stores for a reasonable price, especially if you buy in bulk or during sales. Don’t overlook alternatives like PVC or vinyl fencing kits, which mimic wood but require less maintenance. For posts, use treated lumber or metal stakes driven into the ground, which are cheaper than concrete-set posts. To assemble your fence, you’ll need basic tools: a saw for cutting pickets, a drill for screws, a level for straight lines, and a hammer for nails. Add a sealant or outdoor paint to protect against weather—this small investment extends the life of your fence. By mixing and matching these materials, you can create a custom look for under $200, as highlighted in this guide from Bob Vila on affordable fencing. Remember, the goal is functionality and charm, so prioritize durability and ease of installation. With these cheap DIY picket fence ideas, you’ll build a barrier that’s both practical and picturesque.
Simple Designs to Inspire Your Cheap DIY Picket Fence
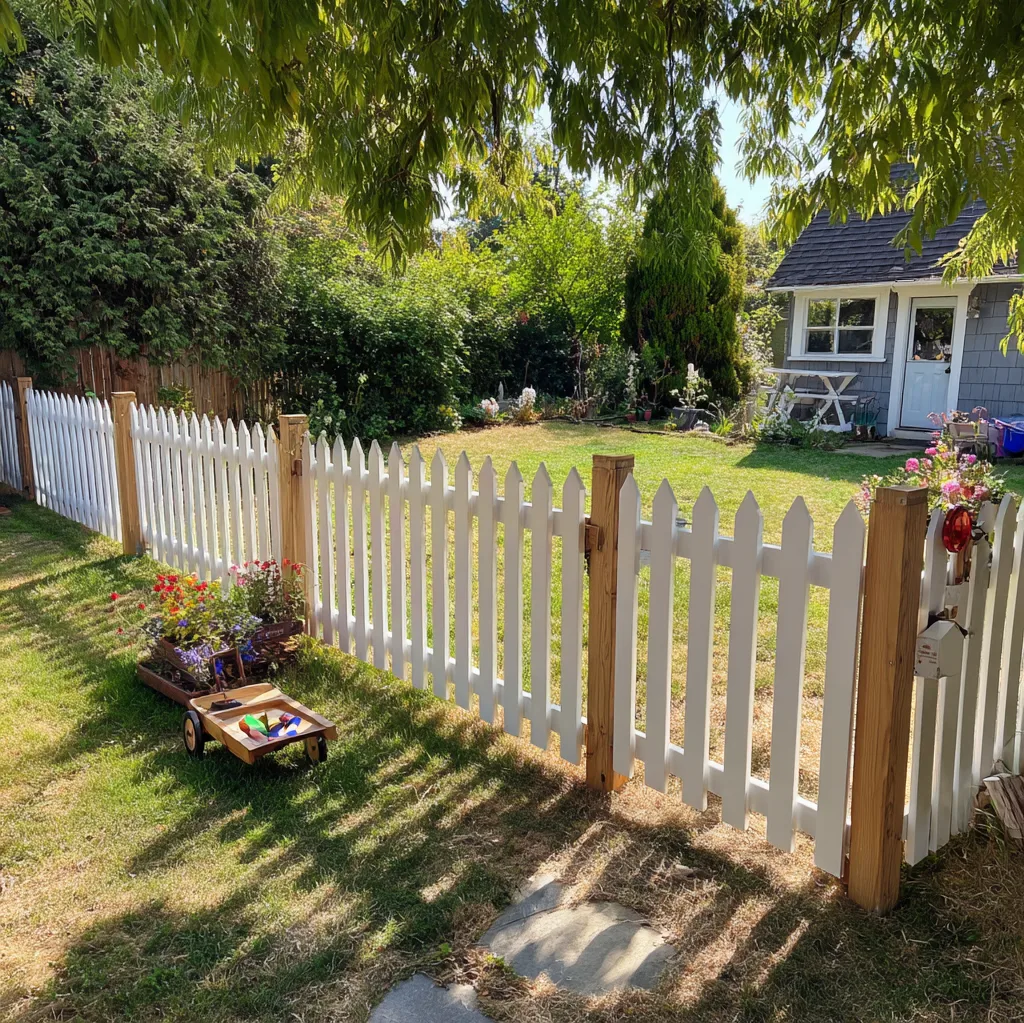
Design is where cheap DIY picket fence ideas truly shine, allowing you to personalize your space without overspending. A classic white picket fence is a timeless choice—paint wooden pickets in bright white for a clean, inviting look that complements any home style. For a rustic twist, leave the wood natural or stain it in shades like cedar or gray to blend with garden surroundings. If you’re short on time, consider a low-profile design with shorter pickets spaced farther apart; this uses less material and is easier to install. Another creative idea is a scalloped-top fence, where pickets are cut into gentle curves for a whimsical touch—perfect for cottage-style gardens. For modern homes, try a horizontal picket layout or mix materials like wood and wire for an industrial vibe. When planning, sketch your design first, considering the fence’s purpose: to enclose a veggie patch, frame a flower bed, or mark a property boundary. Use a string line and stakes to outline the area, ensuring straight lines and even spacing. Pre-cut your pickets to uniform sizes for a professional finish, and stagger the posts every 6-8 feet for stability. By experimenting with heights, colors, and patterns, you can achieve a unique fence that reflects your personality. These cheap DIY picket fence ideas prove that style doesn’t have to be expensive—just inventive. For more design inspiration, check out our related post on budget garden projects at https://wheelsofflavor.com/diy-garden-upgrades.
Step-by-Step Tips for Building a Cheap DIY Picket Fence
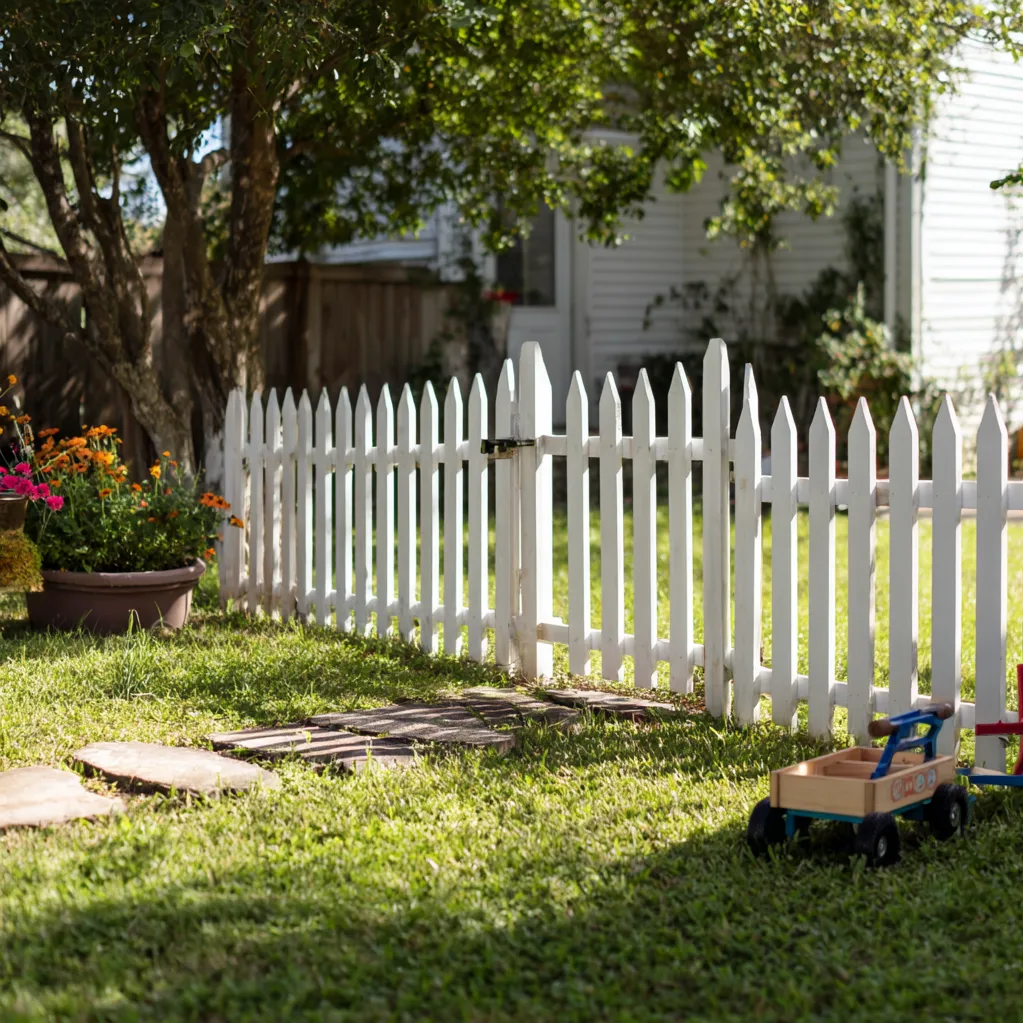
Building a cheap DIY picket fence is easier than you think with a clear plan. First, measure your area and calculate materials—aim for pickets about 3-4 feet tall and posts 8 feet apart. Start by digging post holes 2 feet deep using a post-hole digger; this ensures stability without costly concrete—just backfill with soil and gravel. Set the posts plumb with a level, then attach horizontal rails between them for support. Next, cut your pickets to size; if using reclaimed wood, sand edges to prevent splinters. Space the pickets evenly, about 2-3 inches apart, and secure them to the rails with screws or nails for durability. For a seamless look, pre-paint or stain the pickets before installation to cover hard-to-reach spots. As you work, check alignment frequently to avoid crooked lines—a common DIY pitfall. If you’re adding a gate, use sturdy hinges and a latch for easy access. Safety tip: Wear gloves and eye protection, especially when cutting wood. This process might take a weekend, but the result is a sturdy, charming fence that costs a fraction of professional installation. These cheap DIY picket fence ideas emphasize practicality; for instance, using a template to ensure uniform picket shapes saves time. Remember, imperfections add character, so don’t stress over perfection. With these steps, you’ll have a functional and beautiful fence that enhances your yard for years.
Conclusion
In summary, cheap DIY picket fence ideas offer a fantastic way to elevate your outdoor space without straining your budget. We’ve explored how affordable materials like reclaimed wood and pressure-treated pine can slash costs, simple designs that add personality, and step-by-step building tips to ensure success. By taking on this project, you’re not just saving money—you’re creating a lasting feature that boosts curb appeal, provides safety, and reflects your creativity. Imagine the pride of showing off a fence you built yourself, perhaps adorned with climbing roses or surrounded by lush greenery. As you move forward, remember that maintenance is key; a yearly coat of sealant can prolong your fence’s life. Looking ahead, consider how this approach can inspire other budget-friendly home improvements, from garden paths to patio upgrades. The future of DIY is bright, with online resources and communities making it easier than ever to learn and share ideas. So, grab your tools and start planning—your dream yard is within reach. For more inspiration on transforming your home, explore our other guides and embrace the joy of hands-on projects. Happy building!
Frequently Asked Questions
Q: What is the cheapest material for a DIY picket fence?
Reclaimed wood, such as from pallets or old fencing, is often the cheapest option for a DIY picket fence. It can be free if sourced from local businesses or online marketplaces, and it adds a rustic charm. Alternatively, pressure-treated pine is affordable and durable, costing around $1-2 per linear foot when bought in bulk. Always check for sales at home improvement stores to save even more.
Q: How long does it take to build a cheap DIY picket fence?
The time to build a cheap DIY picket fence depends on the size and complexity, but for a typical small yard (e.g., 20-30 feet), it can take a weekend or about 8-12 hours. This includes planning, measuring, digging post holes, assembling rails, and attaching pickets. If you’re new to DIY, allow extra time for setup and adjustments. Breaking it into stages—like prepping materials one day and installing the next—can make it manageable.
Q: Can I build a picket fence without using concrete for the posts?
Yes, you can build a picket fence without concrete by using alternative methods like gravel or soil backfill. Dig post holes about 2 feet deep, set the posts, and pack the holes with gravel or tightly compacted soil to provide stability. This approach is cheaper and easier for DIYers, though it may not be as long-lasting in very wet or windy areas. For added security, use metal post anchors driven into the ground.

