
Weatherstripping a barn door is not just about enhancing its aesthetic appeal; it’s a critical step towards ensuring energy efficiency, noise reduction, and protection against the elements. Whether you’re dealing with scorching summers or freezing winters, proper weatherstripping can make a significant difference in maintaining a comfortable indoor environment. This guide will walk you through the importance of weatherstripping your barn door, the benefits it brings, and how to achieve the best results with just 5 simple steps. By the end, you’ll understand why this often-overlooked aspect of barn door installation is a game-changer for both functionality and style.
Why Weatherstripping Your Barn Door is a Must
Weatherstripping plays a pivotal role in sealing gaps around your barn door, preventing drafts, dust, and pests from entering your space. It also contributes to energy savings by maintaining consistent indoor temperatures, reducing the strain on your heating and cooling systems. Moreover, it adds an extra layer of sound insulation, making it ideal for bedrooms, offices, or any area where peace and quiet are valued. Ignoring this step can lead to higher energy bills and a less comfortable living environment.

Queen Size 4 Piece Sheet Set - Comfy Breathable & Cooling Bed Sheets Set - Hotel Luxury Bedding for Women, Men, Kids, Teens, Boys & Girls
🛒 Buy on AmazonChoosing the Right Weatherstripping Material for Your Barn Door
Selecting the appropriate weatherstripping material is crucial for durability and effectiveness. Common options include adhesive foam tape, V-strip, and door sweeps, each suited for different types of gaps and climates. Adhesive foam tape is easy to install and ideal for small gaps, while V-strip works well for the sides and top of the door. Door sweeps are perfect for sealing the bottom gap. Consider factors like exposure to moisture, temperature fluctuations, and the size of the gaps when choosing your material.
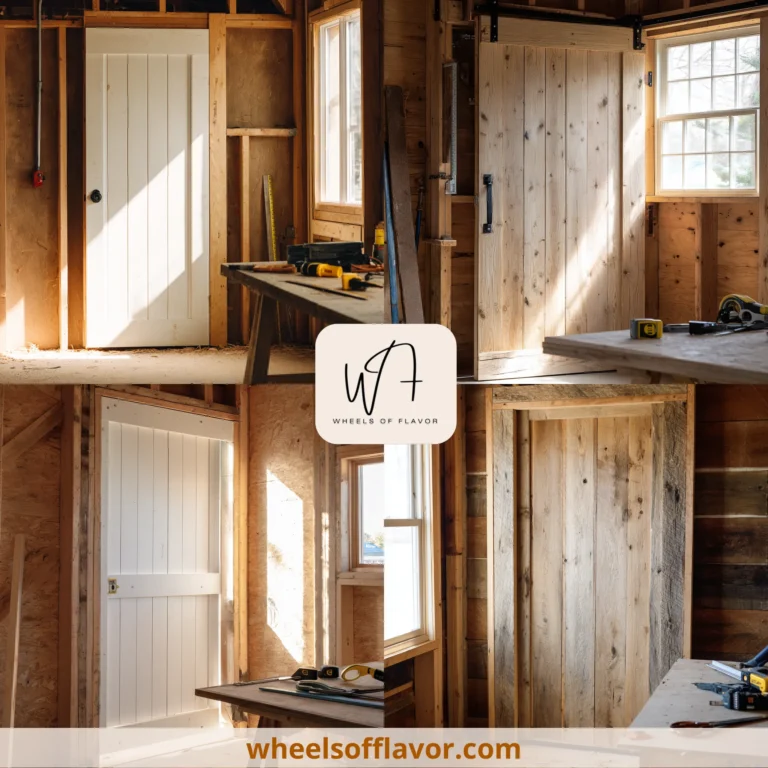
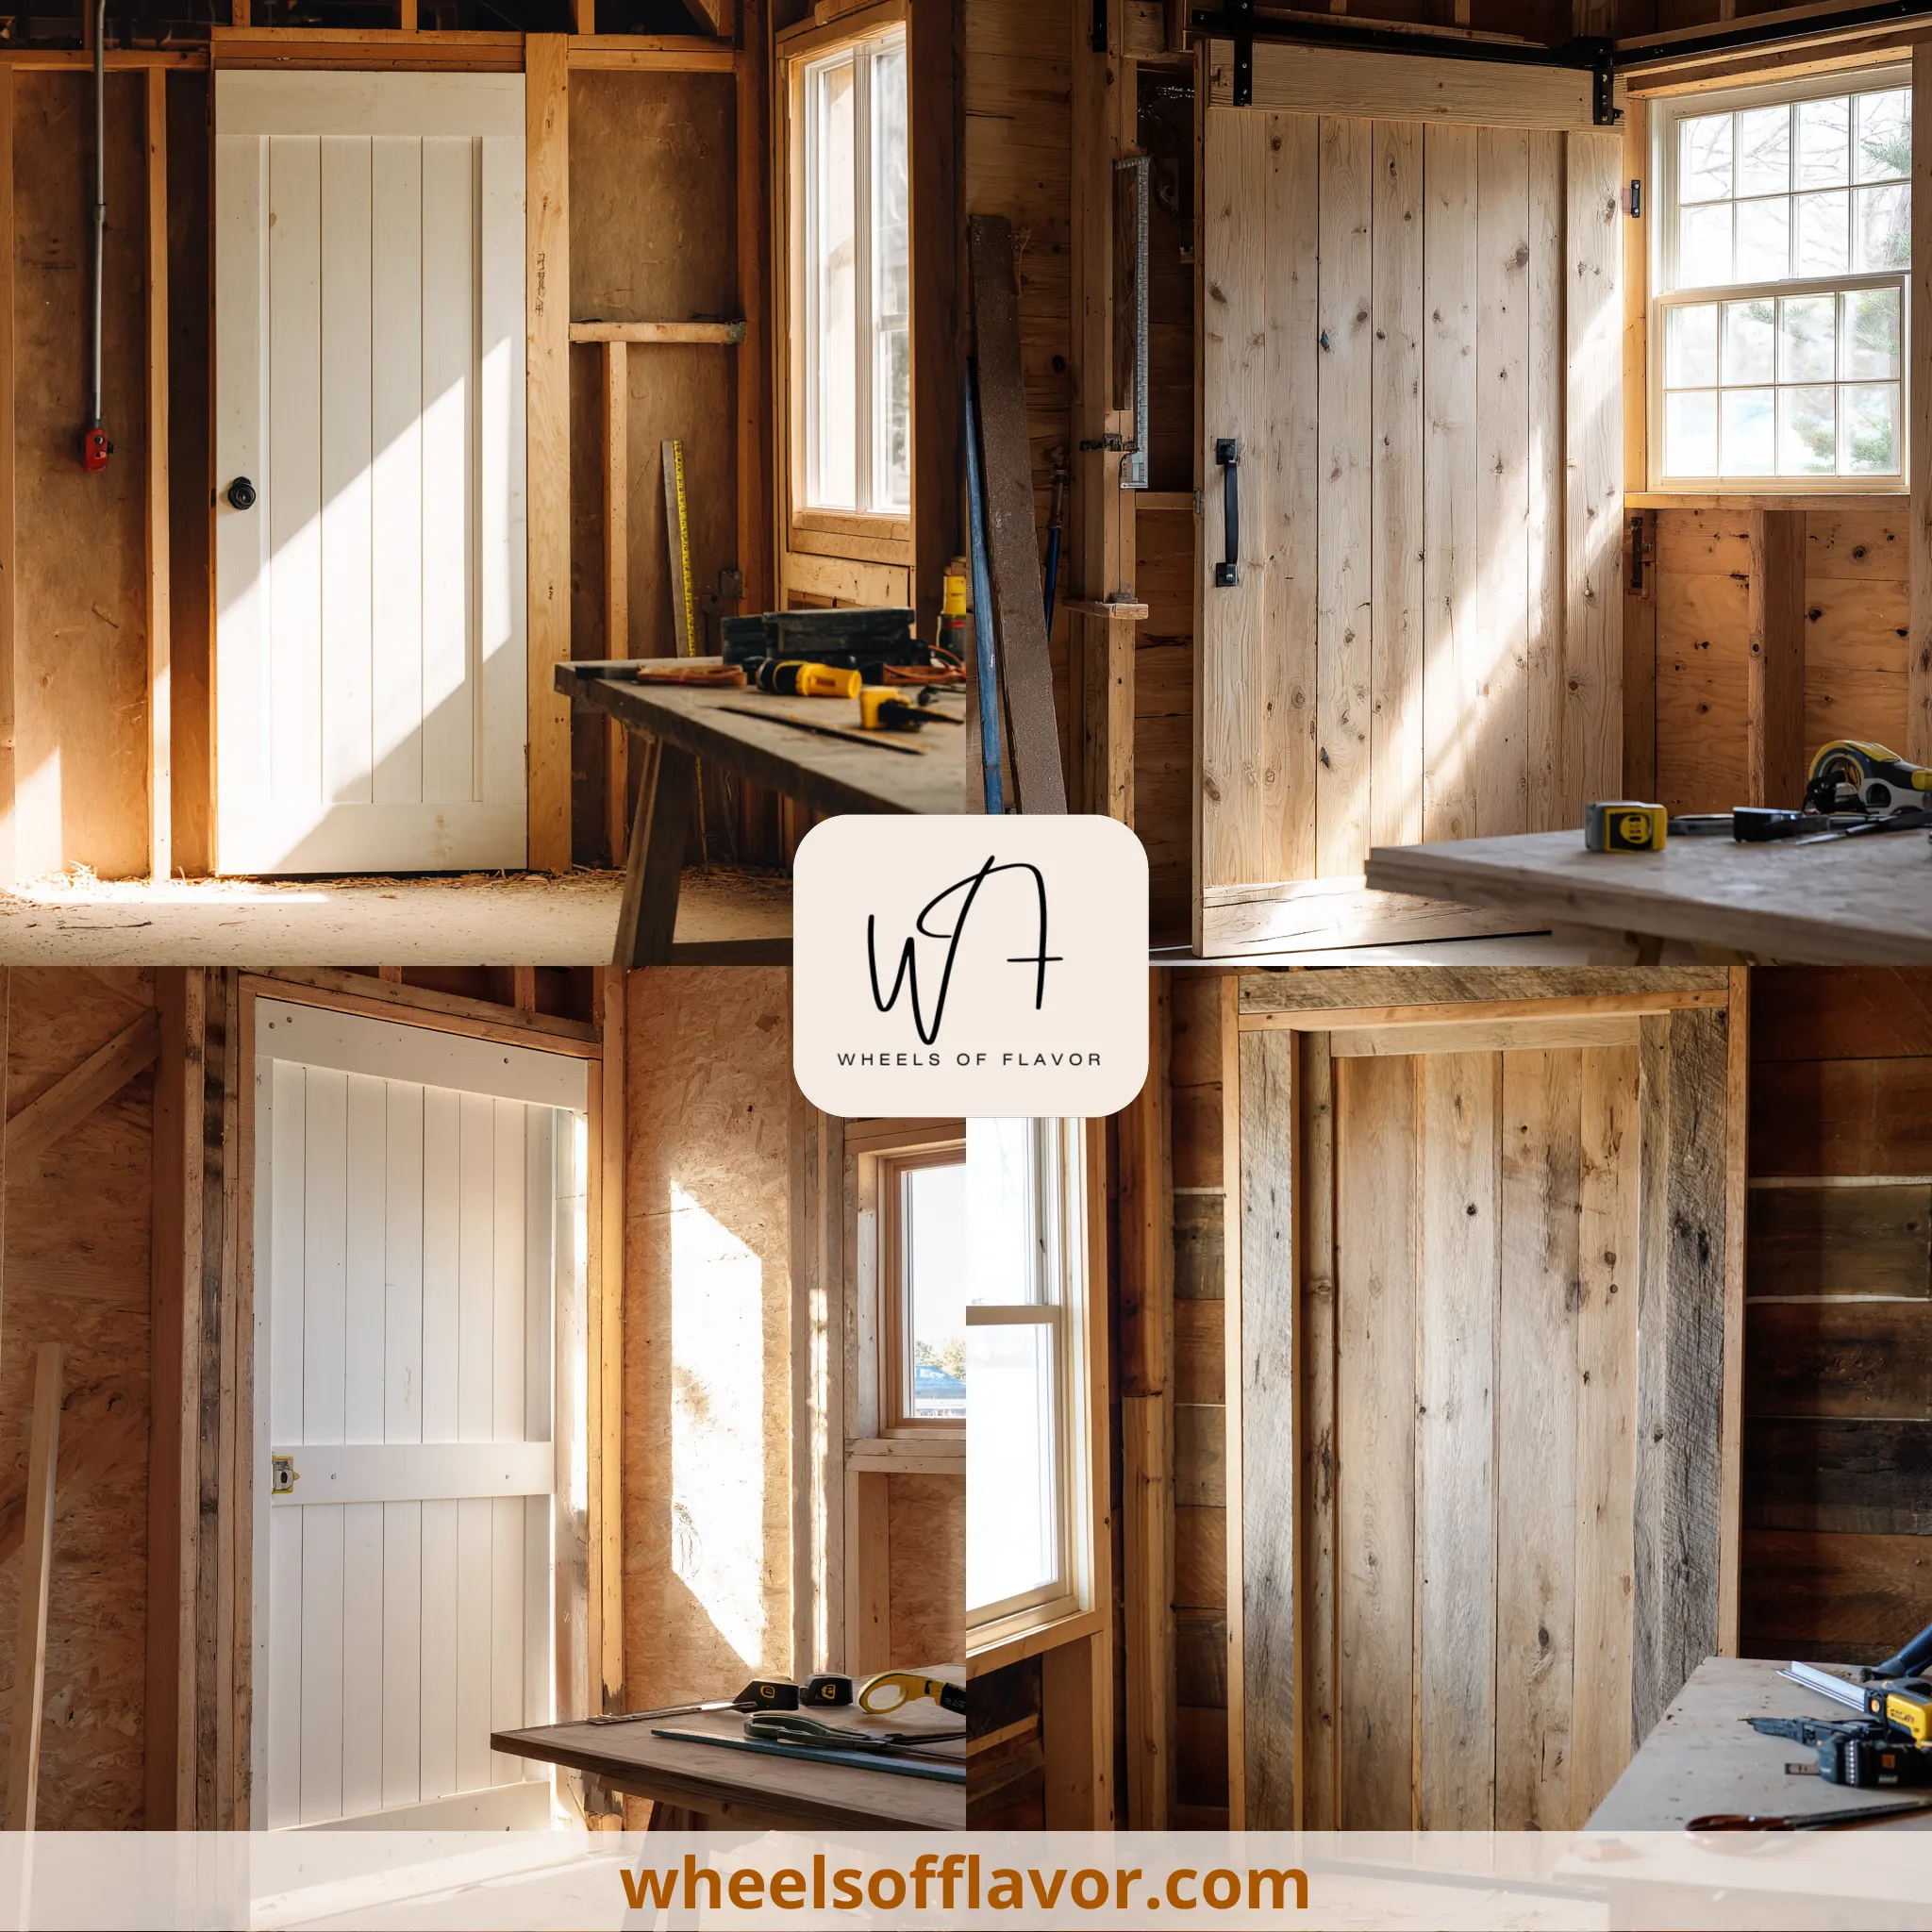
Step-by-Step Guide to Weatherstripping Your Barn Door
Start by cleaning the door frame to ensure the weatherstripping adheres properly. Measure the gaps to select the right size and type of weatherstripping. Cut the material to fit the dimensions of your door, allowing a slight overlap for corners. Apply the weatherstripping carefully, pressing firmly to secure it in place. Test the door to ensure it closes smoothly without resistance. Repeat the process for all sides, including the bottom if necessary. This simple DIY project can be completed in a few hours with minimal tools.
Conclusion
Weatherstripping your barn door is an easy and cost-effective way to enhance your home's comfort, energy efficiency, and noise insulation. By following the 5 essential tips outlined in this guide, you can achieve professional results without the need for expert help. As we move towards more sustainable living practices, taking small steps like weatherstripping can have a significant impact on reducing our carbon footprint. Start your weatherstripping project today and enjoy the immediate benefits it brings to your space.
Frequently Asked Questions
Q: How often should I replace the weatherstripping on my barn door?
Weatherstripping should be inspected annually and replaced every 3-5 years, depending on wear and tear. Signs of damage or loss of adhesion indicate it's time for a replacement.
Q: Can I weatherstrip a barn door myself, or should I hire a professional?
Weatherstripping a barn door is a straightforward DIY project that most homeowners can tackle with basic tools. However, if you're unsure or dealing with unusual door configurations, consulting a professional might be beneficial.
Q: Does weatherstripping a barn door really save energy?
Yes, properly installed weatherstripping can significantly reduce energy loss by sealing gaps that let air escape, leading to lower heating and cooling costs.