

Weatherstripping your garage door is a crucial DIY project that can significantly improve your home’s energy efficiency and comfort. By sealing out drafts, moisture, and pests, you not only protect your garage and its contents but also contribute to lower energy bills. This guide will walk you through the essential steps to effectively weatherstrip your garage door, ensuring a snug fit against the elements. Whether you’re a seasoned DIY enthusiast or a beginner, our easy-to-follow instructions will help you achieve professional results without the need for expensive contractors. Let’s dive into the world of DIY weatherstripping and transform your garage into a more energy-efficient space.
Why Weatherstripping Your Garage Door DIY is Essential
Weatherstripping your garage door DIY style is not just about saving money; it's about creating a barrier against the elements. A properly sealed garage door prevents cold drafts in winter and keeps the heat out during summer, making your garage more comfortable year-round. Additionally, it stops moisture and pests from entering, protecting your belongings from damage. With energy costs on the rise, a small investment in weatherstripping can lead to significant savings on your utility bills. Plus, it's a straightforward project that most homeowners can tackle over a weekend with the right tools and materials.

Queen Size 4 Piece Sheet Set - Comfy Breathable & Cooling Bed Sheets Set - Hotel Luxury Bedding for Women, Men, Kids, Teens, Boys & Girls
🛒 Buy on AmazonChoosing the Right Weatherstripping Materials for Your Garage Door DIY Project
Selecting the appropriate weatherstripping materials is key to the success of your DIY project. There are several types to choose from, including vinyl, rubber, and foam. Vinyl is durable and resistant to moisture, making it ideal for garage doors. Rubber provides excellent insulation but may degrade over time in extreme temperatures. Foam is easy to install and affordable but may not last as long as other materials. Consider the climate in your area and the specific needs of your garage when making your selection. Remember, the goal is to create a tight seal that will stand up to the elements and wear over time.
Step-by-Step Guide to Installing Weatherstripping on Your Garage Door DIY
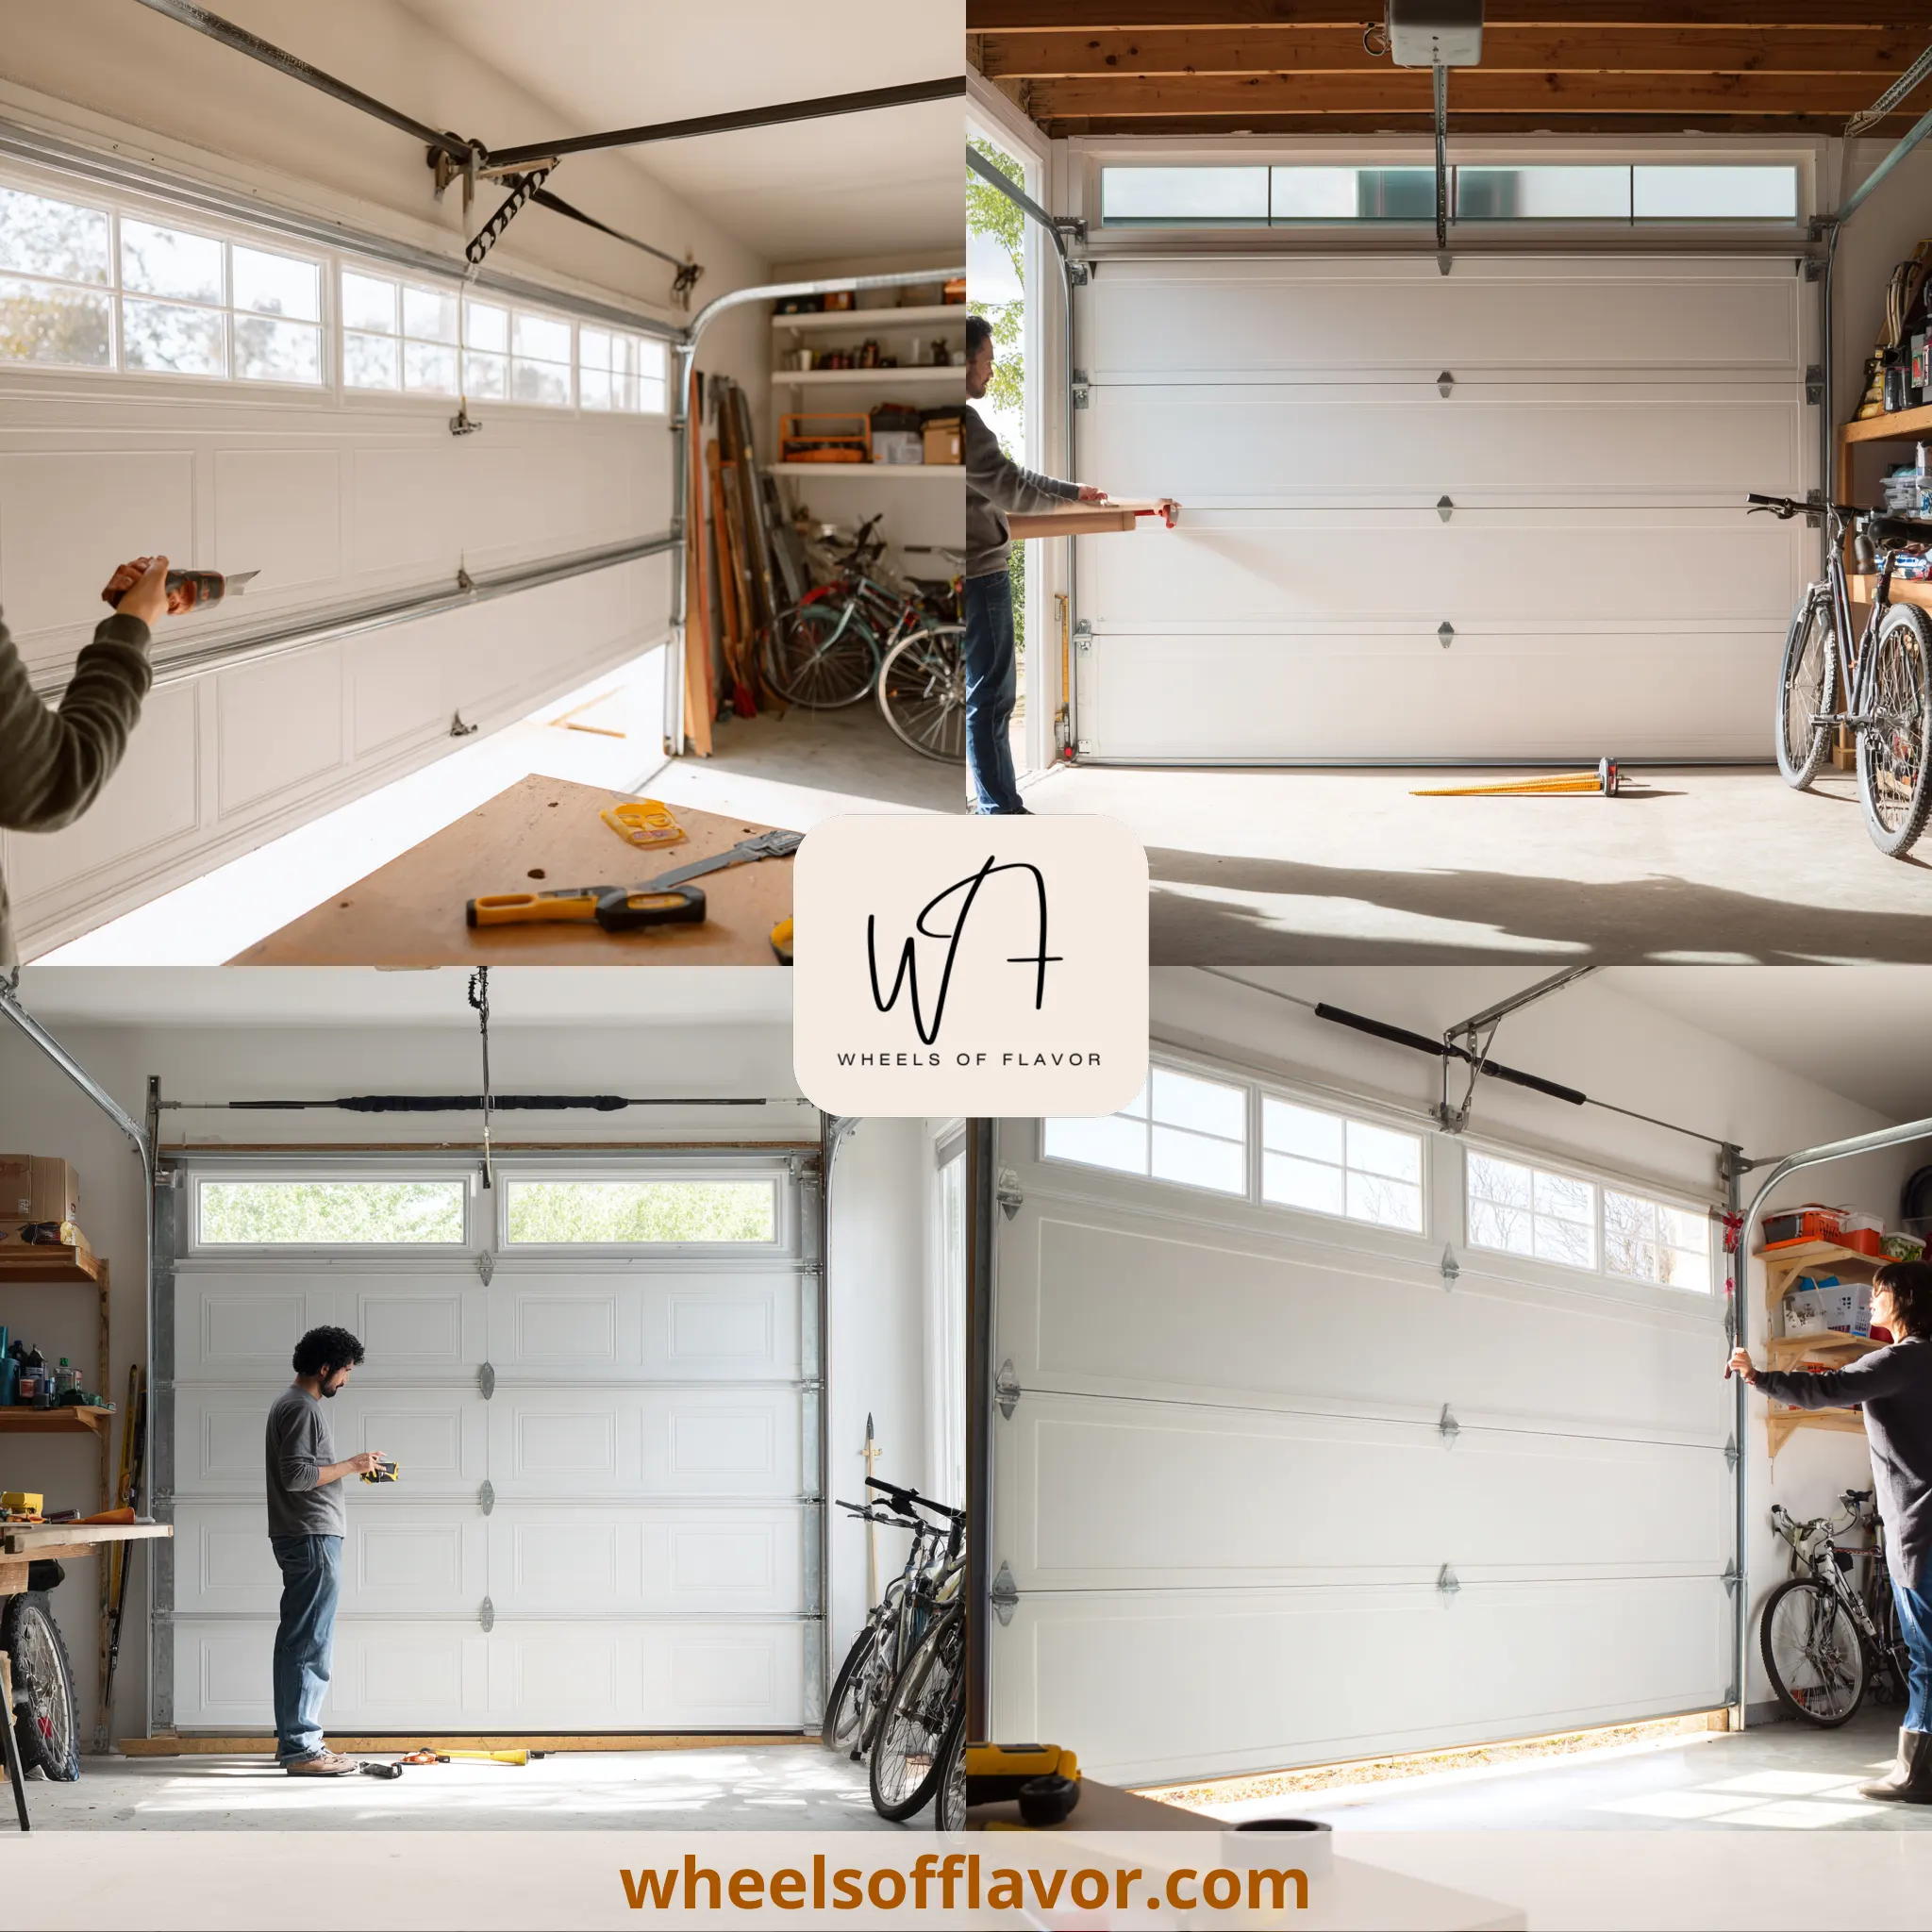
Installing weatherstripping on your garage door DIY project involves a few key steps. First, measure the perimeter of your garage door to determine how much weatherstripping you'll need. Next, clean the area where the weatherstripping will be applied to ensure a strong adhesive bond. Then, cut the weatherstripping to size, allowing a little extra for a snug fit. Apply the weatherstripping carefully, pressing firmly to secure it in place. Finally, test the door to ensure it opens and closes smoothly without dislodging the new weatherstripping. With patience and attention to detail, you'll have a professionally sealed garage door in no time.
Conclusion
Weatherstripping your garage door DIY is a rewarding project that enhances your home's energy efficiency and comfort. By following the steps outlined in this guide, you can effectively seal out drafts, moisture, and pests, protecting your garage and its contents. Remember to choose the right materials for your climate and needs, and take your time during installation to ensure a durable seal. As energy costs continue to rise, taking proactive steps like weatherstripping can lead to noticeable savings on your utility bills. Looking ahead, consider incorporating other energy-saving measures to further improve your home's efficiency. For more DIY tips and tricks, visit our blog at https://wheelsofflavor.com/. Happy weatherstripping!
Frequently Asked Questions
Q: How often should I replace the weatherstripping on my garage door?
The lifespan of garage door weatherstripping depends on the material and exposure to the elements. Generally, it's a good idea to inspect your weatherstripping annually and replace it every 3-5 years or as soon as you notice signs of wear or damage.
Q: Can I install weatherstripping on a metal garage door?
Yes, you can install weatherstripping on a metal garage door. In fact, metal doors can benefit greatly from weatherstripping as they are prone to temperature fluctuations. Ensure the surface is clean and dry before applying the weatherstripping for the best adhesion.
Q: What's the best time of year to weatherstrip my garage door?
The best time to weatherstrip your garage door is during mild weather, typically in the spring or fall. This allows you to prepare for the extreme temperatures of summer and winter, ensuring your garage remains comfortable and energy-efficient year-round.