
Planning a wedding is an exciting journey filled with joyful moments, and one of the first steps is sending out save the dates. These preliminary announcements set the tone for your celebration and ensure your loved ones mark their calendars. With the rising costs of weddings, DIY save the dates offer a fantastic opportunity to add a personal touch while staying within budget. By crafting your own, you can infuse your unique style, whether it’s rustic, modern, or whimsical, making each card a reflection of your love story. Not only does this approach save money, but it also allows for creativity and flexibility. Imagine designing something that truly represents you as a couple, rather than settling for generic options. In this article, we’ll explore innovative DIY save the dates ideas that are easy to execute, even for beginners. From simple paper crafts to digital designs, you’ll find inspiration to make this task enjoyable and memorable. Let’s dive into ways to make your save the dates stand out and start your wedding planning on a high note!
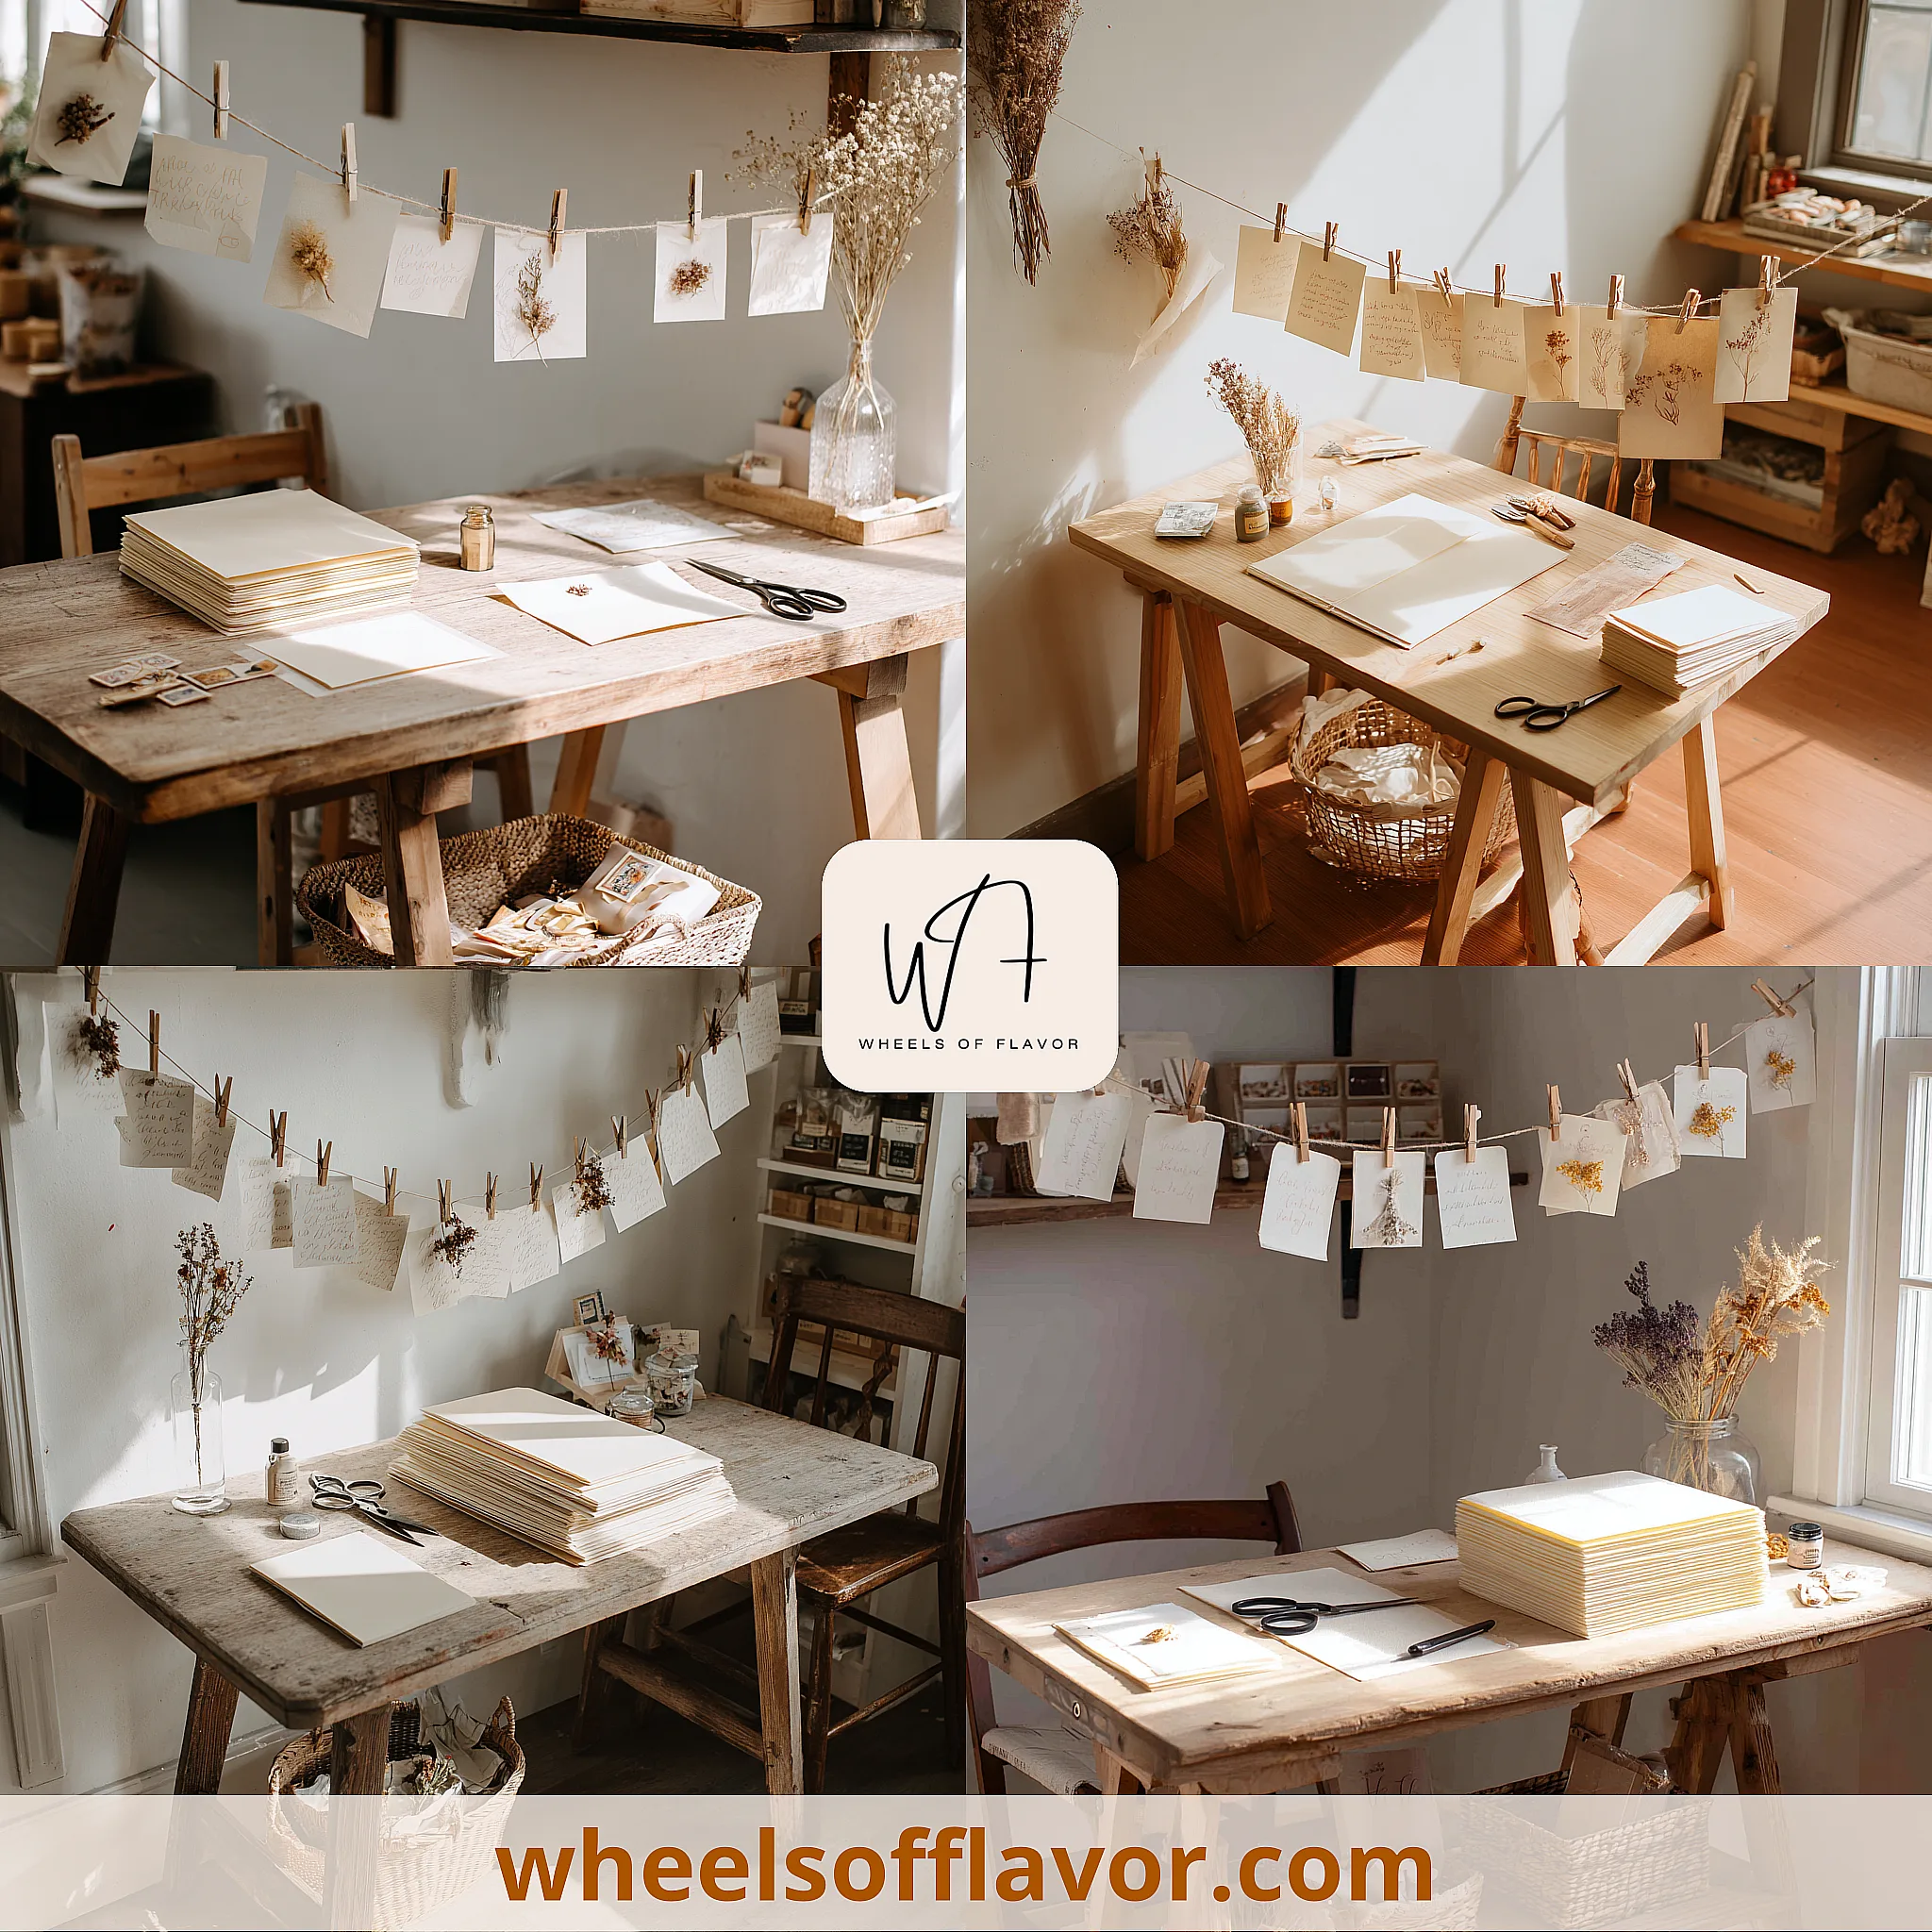
DIY Save the Dates Ideas with Paper and Craft Supplies
Paper-based DIY save the dates are a classic choice that allows for endless creativity. Start by gathering materials like cardstock, scissors, glue, and decorative elements such as ribbons or stamps. For a rustic theme, consider using kraft paper and twine to tie the cards together, adding a touch of nature with pressed flowers or leaves. If you prefer a more elegant look, opt for metallic accents or embossed designs. One popular idea is to create pocket-style save the dates, where a small insert holds the details, making it interactive and fun for recipients. Another approach is to use origami or pop-up elements to add dimension. For those on a tight budget, repurpose materials from around the house, like old maps or book pages, to craft unique and eco-friendly announcements. Remember to include essential information: your names, wedding date, and a note about the formal invitation to follow. Tools like a paper cutter or a simple template can streamline the process, ensuring consistency across all cards. By doing it yourself, you not only save money but also create a keepsake that guests will cherish. For more inspiration on budget-friendly decor, check out this guide from Martha Stewart Weddings, a trusted resource for DIY projects. Embrace the joy of crafting and make your save the dates a true labor of love!
Digital DIY Save the Dates Ideas for a Modern Twist
In today's digital age, electronic save the dates are gaining popularity for their convenience and cost-effectiveness. With DIY digital options, you can design beautiful e-cards using free or affordable tools like Canva, Adobe Spark, or even basic software like Microsoft Word. Start by choosing a template that matches your wedding theme, whether it's minimalist, vintage, or colorful. Customize it with your photos, fonts, and colors to make it uniquely yours. For a interactive element, consider adding animations or links to your wedding website, where guests can find more details. Digital save the dates are not only eco-friendly but also allow for quick distribution via email or social media, saving on postage and paper costs. To make them feel special, pair them with a personalized message or a short video greeting. If you're tech-savvy, you could even code your own HTML email for a fully custom experience. Remember to test your designs on different devices to ensure mobile readability, as many guests will view them on smartphones. This approach is perfect for couples who want a modern, efficient way to announce their date without sacrificing style. For tips on creating engaging digital content, explore resources from reputable sites like The Knot. Dive into the digital realm and make your save the dates as innovative as your love story!
Unique and Themed DIY Save the Dates Ideas to Personalize Your Announcement
Themed DIY save the dates can elevate your announcement from ordinary to extraordinary by reflecting your personalities or wedding concept. Think about what makes you and your partner unique—perhaps you love travel, so incorporate map elements or passport-style designs. For a beach wedding, use seashells, sand, or ocean-inspired colors in your crafts. If you're foodies, consider save the dates shaped like cookies or with recipe cards that hint at the celebration to come. Another creative idea is to use non-traditional materials, such as wood slices for a rustic feel or acrylic sheets for a modern look. You could also tie in your hobbies; for instance, if you're musicians, design cards that resemble concert tickets or album covers. The key is to keep it functional and easy to replicate for multiple guests. For example, if using elevated elements like hanging ornaments, ensure they are securely attached and packaged to avoid damage in mail. Themed save the dates not only build excitement but also give guests a sneak peek into your wedding style. To tie it all together, consider linking to your wedding website for more details, like this internal resource on DIY projects. Let your imagination run wild and create save the dates that are as memorable as your big day!
Conclusion
In wrapping up, DIY save the dates are a wonderful way to kick off your wedding planning with creativity and personalization. From hands-on paper crafts to sleek digital designs and themed innovations, the options are limitless and adaptable to any budget. By taking the DIY route, you not only save money but also infuse your announcements with heartfelt touches that guests will appreciate. Remember, the goal is to communicate your joy and important date in a way that feels authentic to you as a couple. As you move forward, consider how these ideas can inspire other aspects of your wedding, such as invitations or decor. The skills you gain here might even lead to more DIY projects in the future, making your entire celebration uniquely yours. For continued inspiration, keep exploring resources and don't be afraid to experiment. Your save the dates are just the beginning of a beautiful journey—embrace the process and enjoy every moment of crafting memories that will last a lifetime.
Frequently Asked Questions
Q: What are the benefits of DIY save the dates compared to store-bought ones?
DIY save the dates offer several advantages, including cost savings, as you can use affordable materials instead of paying for premade cards. They also allow for complete customization, letting you match your wedding theme and personal style perfectly. Additionally, the process can be a fun and bonding activity for you and your partner, adding sentimental value to your announcements.
Q: How far in advance should I send out DIY save the dates?
It's generally recommended to send save the dates 6 to 8 months before your wedding, especially if it's a destination event or during a busy season like holidays. This gives guests ample time to plan and make arrangements. For DIY projects, factor in extra time for designing, crafting, and addressing to ensure they're sent out on schedule.
Q: Can I combine digital and physical elements in DIY save the dates?
Absolutely! Hybrid approaches are popular and effective. For example, you could send a physical card with a QR code that links to a digital save the date or your wedding website. This combines the tangibility of a handmade item with the convenience of digital access, catering to different guest preferences and enhancing the overall experience.