

Masking tape art ideas are revolutionizing the way we approach home decor, offering an affordable, versatile, and fun way to express creativity without breaking the bank. In today’s fast-paced world, finding budget-friendly and easy-to-implement design solutions is more important than ever. Whether you’re a seasoned DIY enthusiast or a beginner looking to spruce up your space, masking tape provides endless possibilities for transforming plain walls, furniture, and accessories into personalized masterpieces. This trend has gained popularity due to its non-permanent nature, making it perfect for renters or those who love to frequently update their decor. From geometric patterns to intricate murals, masking tape art allows you to experiment with colors, shapes, and textures in a risk-free manner. It’s not just about aesthetics; engaging in such projects can be a therapeutic and rewarding experience, fostering a sense of accomplishment and adding a unique touch to your living environment. In this article, we’ll explore some of the best masking tape art ideas to inspire your next project, helping you turn ordinary spaces into extraordinary ones with minimal effort and cost.
Easy Masking Tape Art Ideas for Beginners
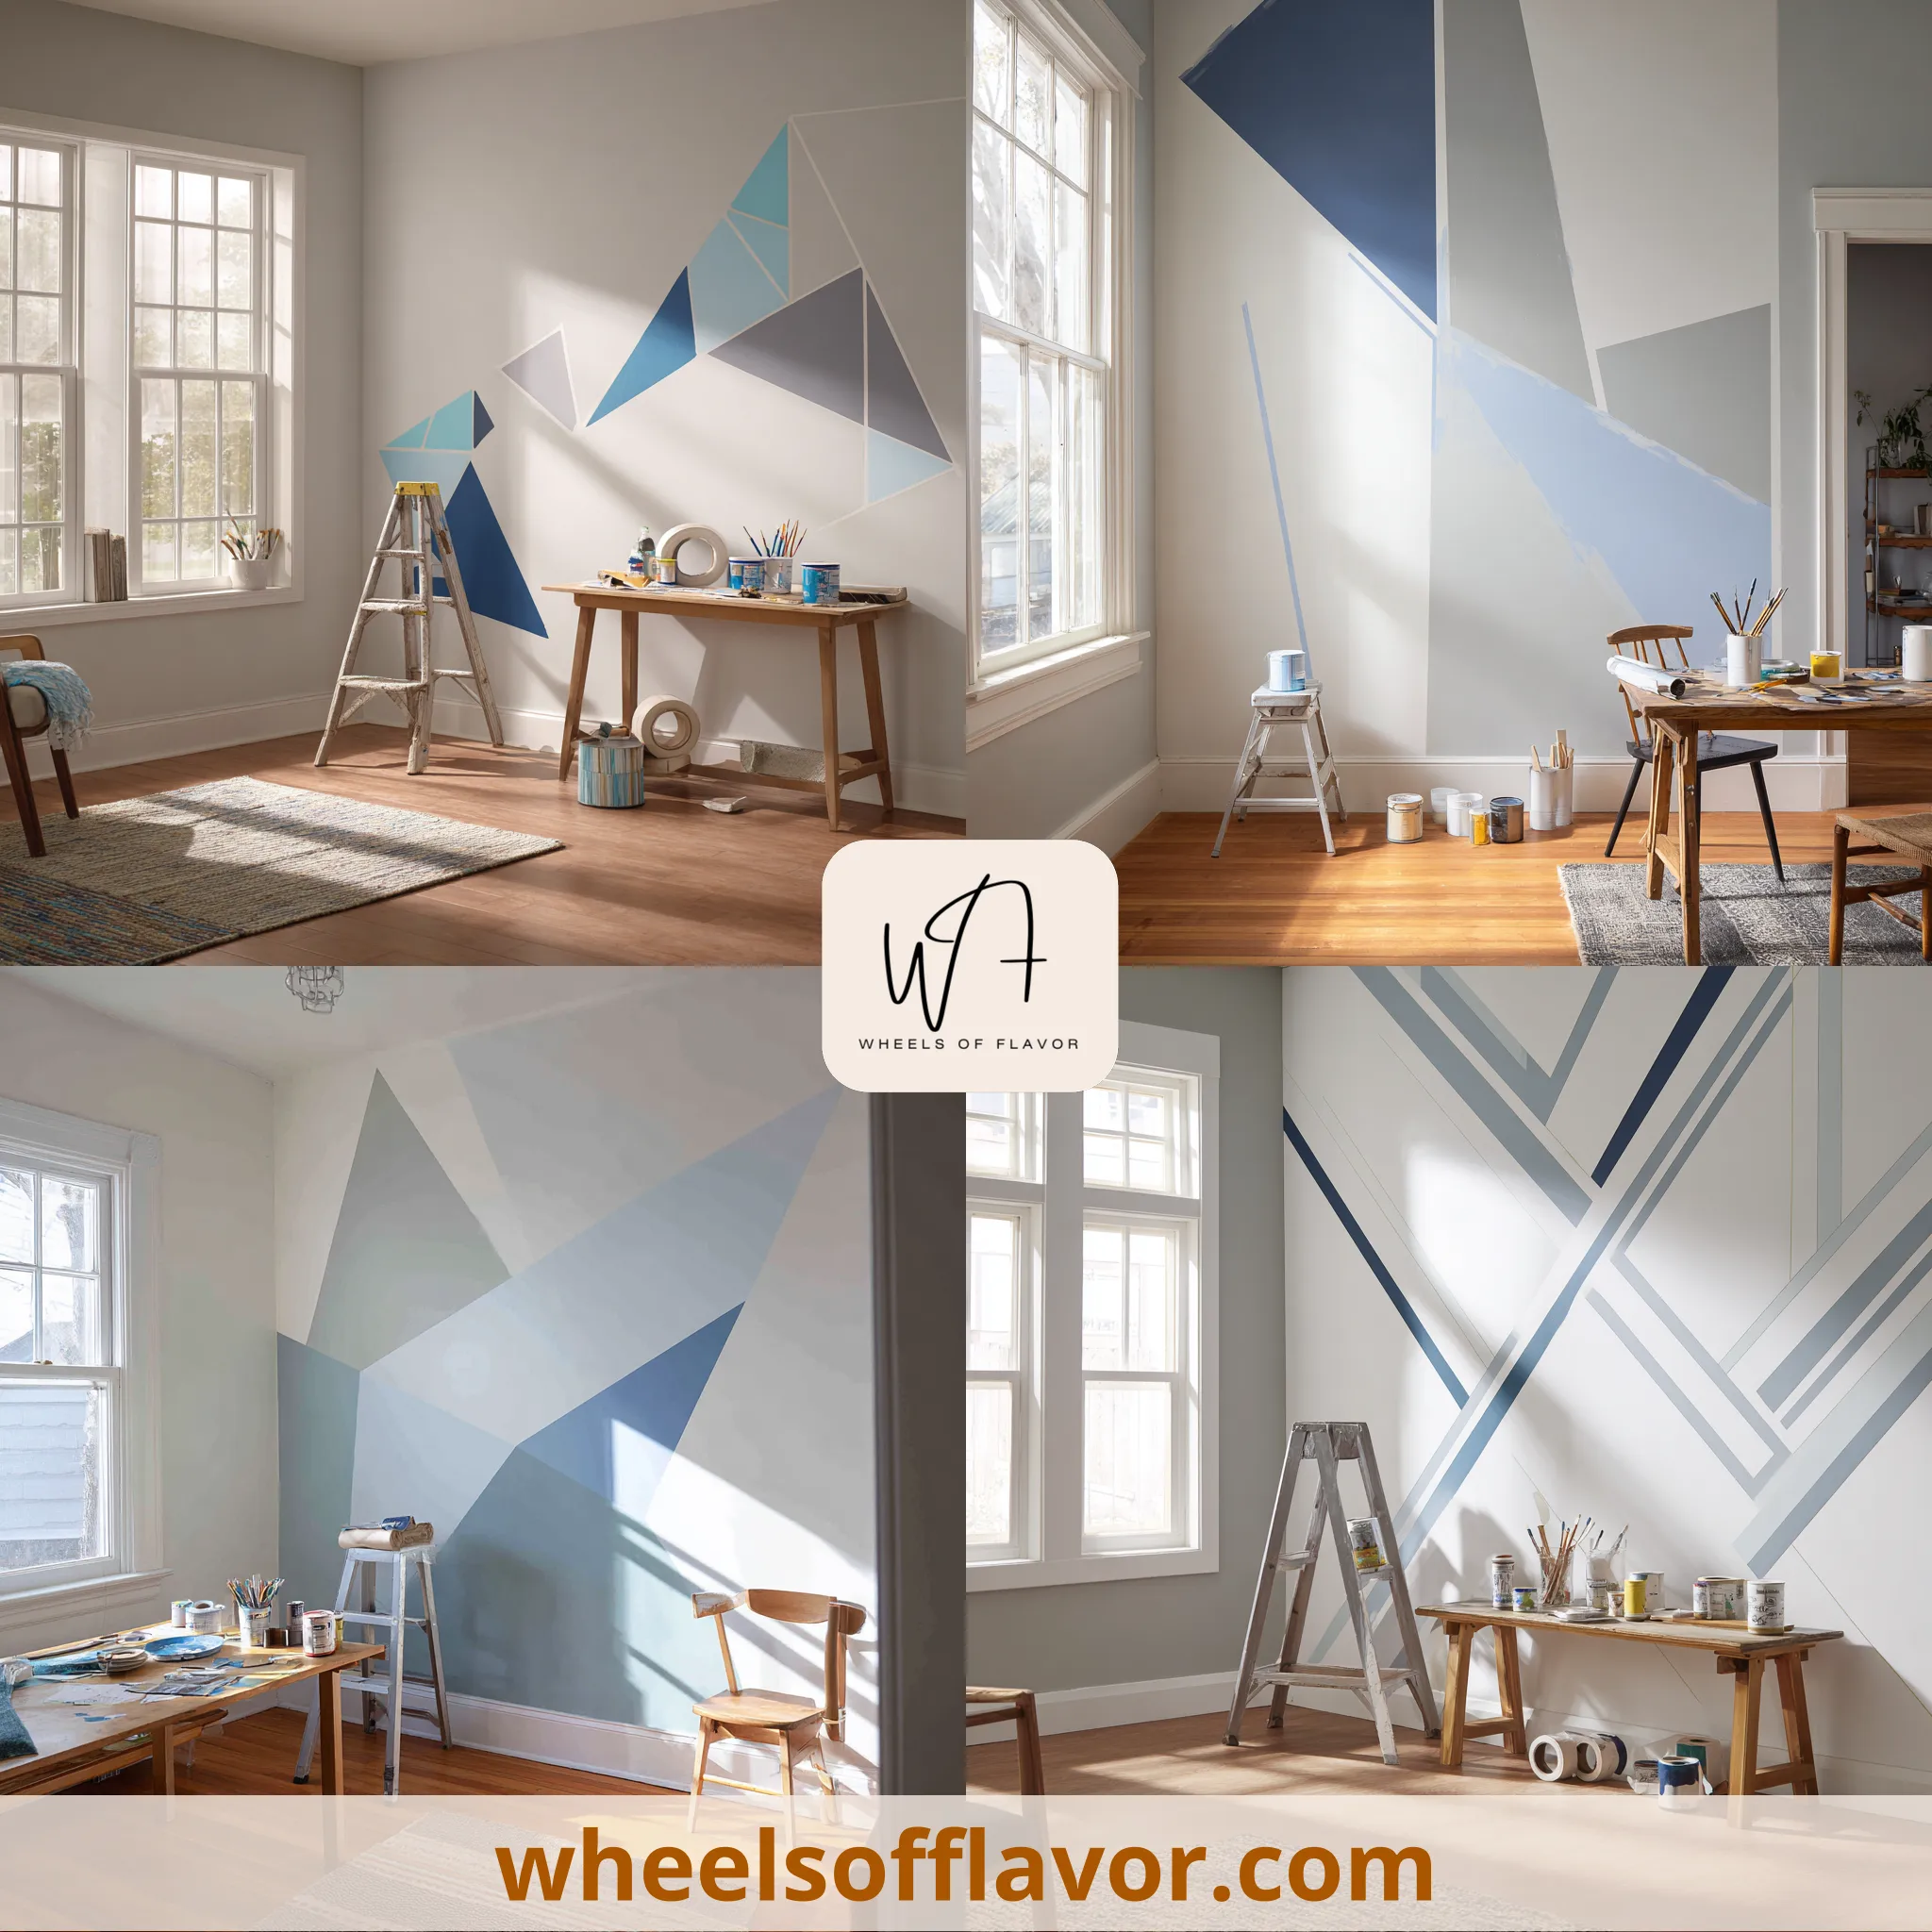
If you're new to masking tape art, starting with simple projects can build your confidence and skills. One of the easiest masking tape art ideas is creating striped or geometric patterns on walls. All you need is a roll of masking tape, a ruler, and some paint. For instance, tape off vertical or horizontal lines on a wall, paint over them with a contrasting color, and once dry, remove the tape to reveal crisp, clean lines. This technique works great for accent walls in living rooms or bedrooms, adding depth and interest without permanent changes. Another beginner-friendly idea is decorating furniture, such as tables or chairs. Use masking tape to outline shapes like chevrons or diamonds, then paint or stain the exposed areas. After drying, peel off the tape for a custom look. For smaller projects, try applying masking tape to vases, picture frames, or even lampshades. Simply wrap the tape in patterns, paint if desired, and remove to unveil a stylish design. These masking tape art ideas are not only easy but also reversible, allowing you to experiment without fear of mistakes. Incorporate colors that complement your existing decor for a cohesive feel. With practice, you can move on to more complex designs, but these starters ensure a fun and successful introduction to the world of DIY art.
Advanced Masking Tape Art Ideas for Experienced Crafters
For those with some experience, advanced masking tape art ideas can elevate your home decor to a professional level. Intricate murals and detailed patterns are perfect for making a bold statement. Start by sketching your design lightly on the wall or surface, then use masking tape to outline the shapes. This could include complex geometric patterns, floral motifs, or even abstract art. The key is to layer the tape carefully to avoid overlaps that might cause peeling issues. Once taped, paint the sections with precision, using multiple colors for a dynamic effect. After drying, remove the tape to reveal a stunning, gallery-worthy piece. Another advanced idea is creating ombre or gradient effects with masking tape. Tape off sections in a staggered manner and blend paints from dark to light, resulting in a smooth transition that adds sophistication to any room. You can also combine masking tape with other materials, such as stencils or washi tape, for added texture and variety. For furniture, try elaborate designs on dressers or cabinets, transforming them into unique focal points. These masking tape art ideas require patience and attention to detail but offer impressive results that can mimic high-end wallpapers or custom finishes. Remember to use high-quality tape to ensure clean lines and avoid residue. Explore resources like The Spruce for tips on advanced techniques to enhance your projects.
Budget-Friendly Masking Tape Art Ideas for Every Room
Masking tape art ideas are ideal for budget-conscious decorators, as they require minimal investment for maximum impact. Start in the living room with a feature wall using masking tape to create a large-scale pattern, such as a herringbone or hexagon design. This can be done with just tape and a single can of paint, costing under $20 compared to expensive wall treatments. In bedrooms, use masking tape to frame headboards or create faux headboard designs on the wall behind the bed. Tape off a rectangle or arch shape, paint it a contrasting color, and remove the tape for an instant upgrade. For kids' rooms, fun shapes like stars, animals, or letters made with masking tape can add a playful touch without the mess of permanent decals. In kitchens, jazz up cabinets or backsplashes by taping off patterns and painting with washable paints for a temporary refresh. Bathrooms can benefit from geometric accents around mirrors or on tiles. Even outdoor spaces like patios can be enhanced with masking tape art on planters or furniture. The beauty of these masking tape art ideas lies in their affordability and adaptability; you can change them seasonally or as your style evolves. For more inspiration on budget decor, check out https://wheelsofflavor.com/diy-projects. Always test tape on a small area first to ensure it doesn't damage surfaces, and enjoy transforming your home on a shoestring budget.
Conclusion
In summary, masking tape art ideas offer a fantastic way to personalize your home with creativity, affordability, and flexibility. From simple stripes for beginners to intricate murals for advanced crafters, these projects can transform any space without permanent changes. We've explored various techniques suitable for different rooms, emphasizing how masking tape can be used to achieve professional-looking results on a budget. The non-permanent nature of masking tape makes it perfect for renters or anyone who loves to update their decor frequently. As you embark on your masking tape art journey, remember to start small, use quality materials, and let your imagination run wild. The future of home decor is leaning towards DIY and sustainable practices, and masking tape art fits perfectly into this trend. For ongoing inspiration, keep experimenting with new patterns and colors, and share your creations with others. Embrace the joy of crafting and make your home a true reflection of your personality. With these ideas, you're well-equipped to tackle your next project and enjoy the rewarding process of bringing art to life in your living spaces.
Frequently Asked Questions
Q: What type of masking tape is best for art projects?
For art projects, use painter's masking tape or delicate surface tape, as they are designed to be easily removable without leaving residue or damaging surfaces. Avoid using standard packaging tape, as it can be too sticky and cause peeling or paint bleed. Look for tapes with a medium adhesion level, and always test on a small, inconspicuous area first to ensure compatibility with your surface.
Q: Can masking tape art be used on textured walls?
Yes, masking tape art can be used on textured walls, but it may require extra care. Textured surfaces can cause the tape to not adhere perfectly, leading to paint bleeding under the edges. To minimize this, press the tape firmly into the texture, use a higher quality tape, or consider lightly sanding the area if possible. For best results, practice on a small section and use a sealant or primer before painting to create a smoother base.
Q: How do I remove masking tape without damaging surfaces?
To remove masking tape without damage, peel it off slowly at a 45-degree angle shortly after painting, ideally once the paint is dry to the touch but not fully cured (check paint instructions). If residue remains, use a hairdryer on low heat to soften the adhesive or gently dab with rubbing alcohol or a mild adhesive remover. Always avoid pulling too quickly or at a sharp angle, as this can tear paint or leave marks. For delicate surfaces, opt for tape specifically labeled for easy removal.