
With Halloween just around the corner, festive nail art is taking center stage, and jack o lantern nails are leading the charge. These creative designs capture the playful, spooky spirit of the season, allowing you to express your love for autumn traditions right at your fingertips. Whether you’re prepping for a costume party, handing out candy to trick-or-treaters, or simply embracing the fall vibe, jack o lantern nails add a touch of whimsy and personality to your look. They’re more than just decoration; they’re a conversation starter and a fun way to participate in holiday festivities without going overboard. In this article, we’ll explore why jack o lantern nails are a must-try trend, offering tips and inspiration to help you achieve the perfect design. From simple patterns for beginners to intricate details for nail art enthusiasts, there’s something for everyone. Get ready to light up your style with these glowing ideas! For more seasonal decor inspiration, check out this guide from Better Homes & Gardens on Halloween crafts.
Jack O Lantern Nails Design Basics
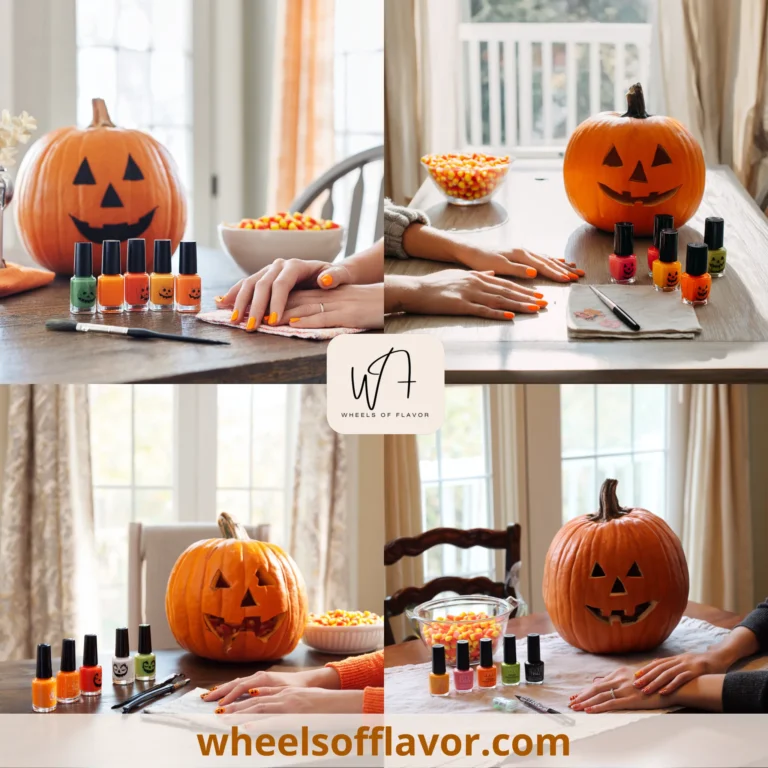
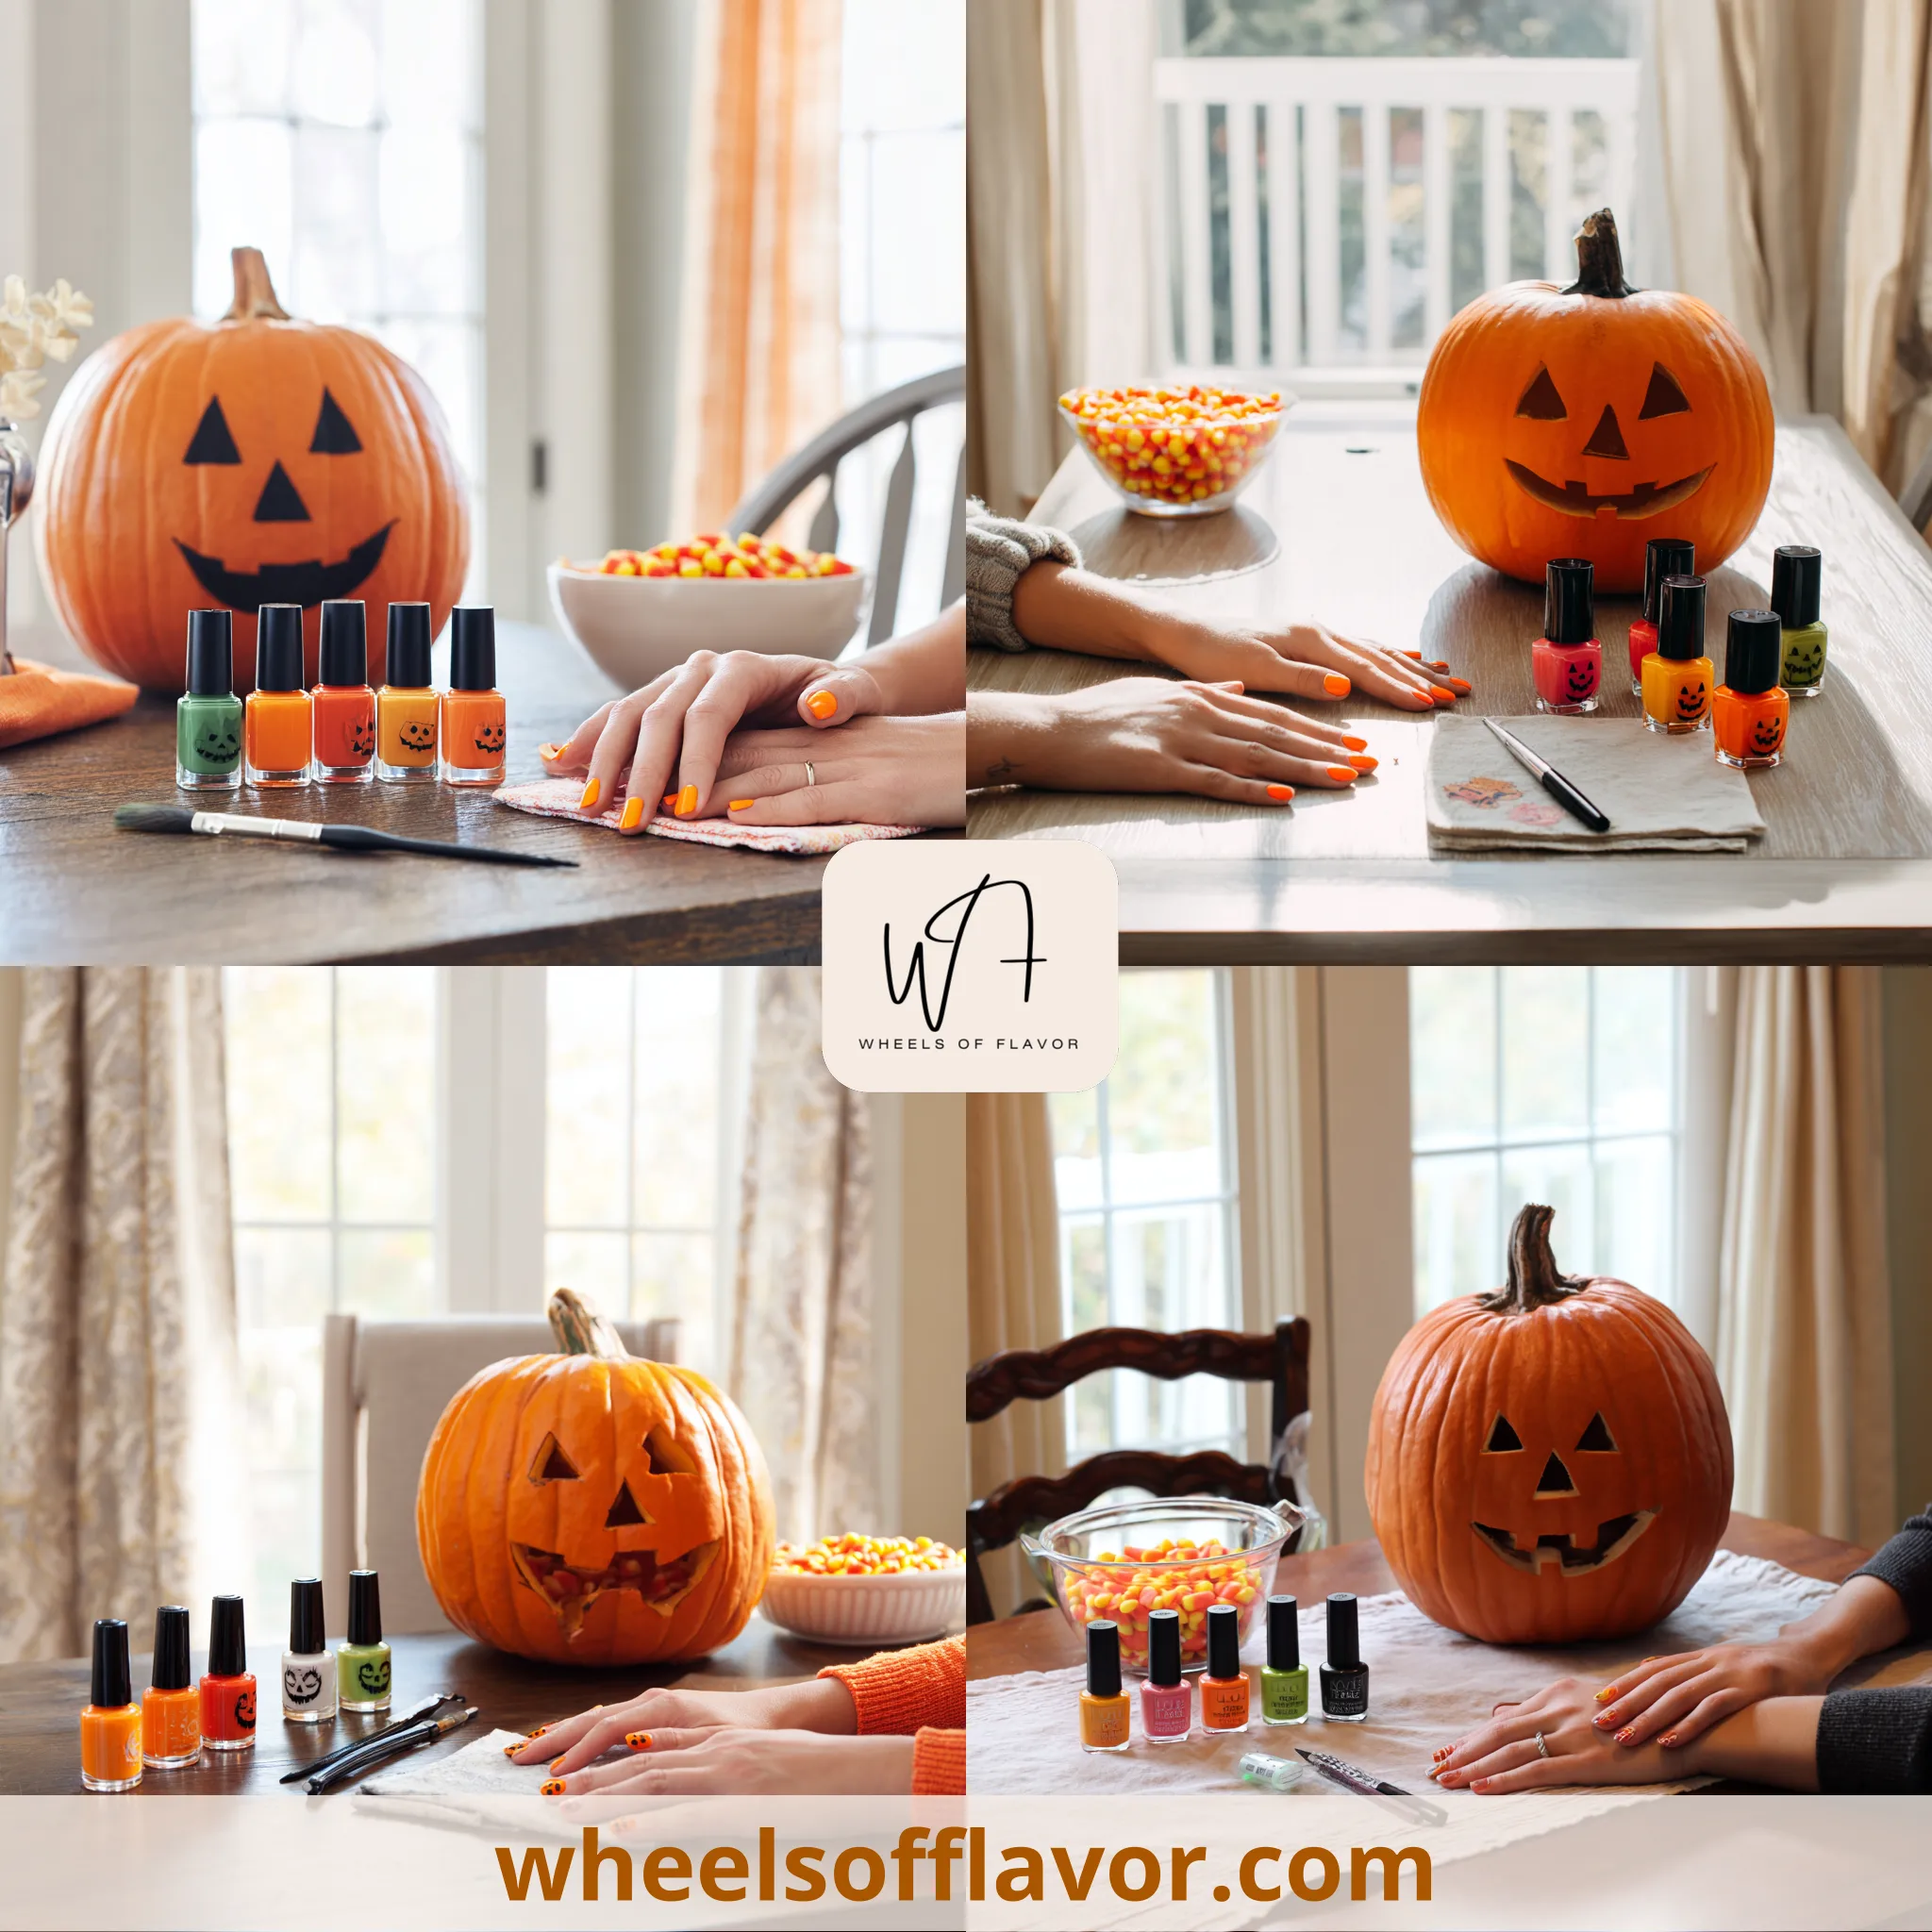
Creating jack o lantern nails starts with understanding the essential elements that make these designs pop. Typically, you'll need a base color like orange polish to represent the pumpkin, followed by black or dark shades for the facial features—think triangle eyes, a jagged mouth, and maybe even a sinister grin. For beginners, using nail stickers or stencils can simplify the process, ensuring clean lines without the stress of freehand drawing. If you're more experienced, try adding details like green accents for the stem or white highlights for a glowing effect. Tools matter too: fine brushes, dotting tools, and a steady hand are key. Remember to apply a base coat to protect your nails and a top coat to seal in your artwork, making it last through all your Halloween activities. Practice on a fake nail or paper first if you're nervous. With these basics, you'll be crafting spooky masterpieces in no time. For budget-friendly tips, explore our DIY nail art ideas at https://wheelsoflavor.com/diy-nail-designs.
7 Easy Steps for Perfect Jack O Lantern Nails
Follow this straightforward 7-step guide to achieve flawless jack o lantern nails at home. First, prep your nails by cleaning, filing, and applying a base coat to prevent staining. Second, paint two coats of bright orange polish, allowing each to dry completely to avoid smudges. Third, using a thin brush or nail art pen, outline the jack o lantern face with black polish—start with simple shapes like circles for eyes and a triangle for the nose. Fourth, fill in the features carefully, working on one nail at a time to maintain precision. Fifth, add optional details, such as a green stem at the base or white dots for a candlelit glow. Sixth, let everything dry thoroughly, which might take 10-15 minutes. Seventh, finish with a high-shine top coat to protect your design and add longevity. This process ensures your nails look professional without a salon visit. If you make a mistake, don't worry—a small brush dipped in polish remover can fix errors easily. Remember, patience is key; rushing can ruin the effect. For more step-by-step tutorials, visit reputable beauty blogs like Allure's nail art section.
Creative Variations of Jack O Lantern Nails
Jack o lantern nails don't have to be traditional; experiment with creative twists to stand out. Try a gradient effect by blending orange with yellow or red polishes for a fiery pumpkin look. Alternatively, use glitter polishes to mimic sparkling candlelight within the design. For a modern touch, incorporate negative space by leaving parts of your nail bare, framing the jack o lantern art with clear sections. You could also theme your nails around different pumpkin expressions—happy, scary, or silly—to match your mood. If you're feeling adventurous, add 3D elements like tiny rhinestones for eyes or matte top coats to contrast with glossy features. Seasonal accents like tiny bats or leaves painted alongside the jack o lanterns can tie the design into broader fall decor. These variations allow for personalization, making your nails unique. Share your creations on social media to inspire others! For inspiration on combining trends, see our post on autumn styles at https://wheelsoflavor.com/fall-fashion-tips.
Conclusion
Jack o lantern nails are a fantastic way to embrace Halloween creativity, offering endless possibilities for self-expression. Throughout this article, we've covered the basics of design, a simple 7-step process, and innovative variations to suit any skill level. By following these tips, you can achieve stunning results that add a festive flair to your overall look. Remember, the key is to have fun and not stress over perfection—nail art is all about experimentation. As Halloween approaches, consider trying these ideas for parties or everyday wear; they're sure to spark joy and compliments. Looking ahead, keep an eye on evolving trends, such as eco-friendly polishes or augmented reality nail apps, which might shape future designs. For now, grab your polish and start crafting! Share your jack o lantern nails online to connect with fellow enthusiasts and keep the spirit alive year-round.
Frequently Asked Questions
Q: How long do jack o lantern nails typically last?
With proper application, including a base and top coat, jack o lantern nails can last 5-7 days without chipping. Factors like nail type, daily activities, and polish quality affect durability. To extend longevity, avoid excessive water exposure and wear gloves during chores.
Q: Can beginners create jack o lantern nails easily?
Yes, beginners can start with simple designs using stickers or stencils. Practice on fake nails first, and use tools like dotting pens for easier control. Many online tutorials break down the process step-by-step, making it accessible for all skill levels.
Q: What are the best colors for jack o lantern nails besides orange?
While orange is classic, you can use shades like deep red, yellow, or even black for a reverse effect. Accent colors like green for stems or white for highlights add depth. Glitter or neon polishes offer a playful twist for a unique look.