
In the world of DIY crafting, a well-organized table isn’t just a luxury—it’s a necessity. Clutter can stifle creativity, making it harder to start and complete projects. That’s why we’ve compiled 13 genius hacks to revolutionize your crafting table organization. Whether you’re a seasoned crafter or just starting out, these tips will help you maximize space, streamline your workflow, and keep your creative juices flowing. Say goodbye to misplaced tools and hello to a crafting table that inspires. Let’s dive into transforming your space into an organized haven for creativity.
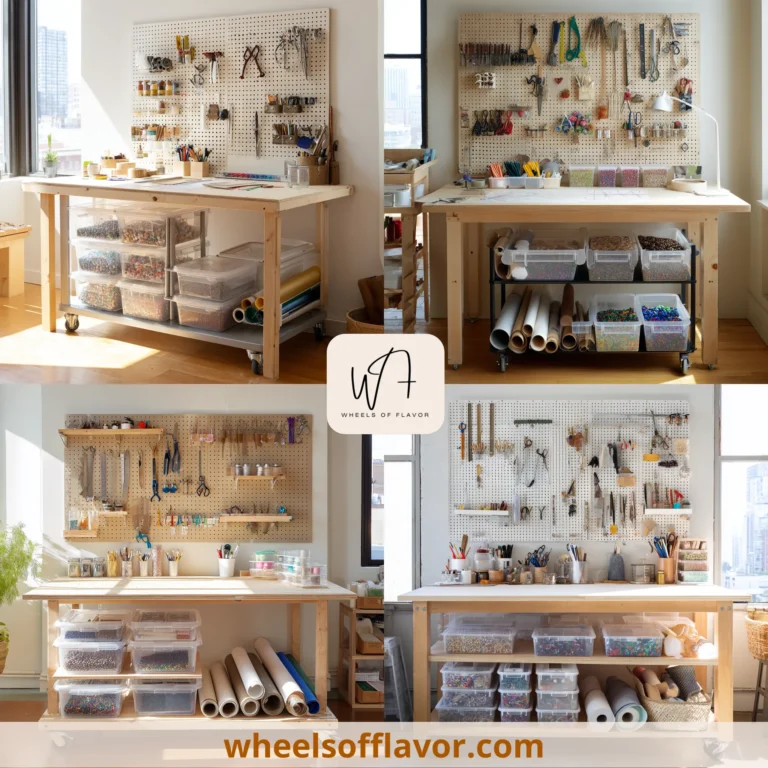
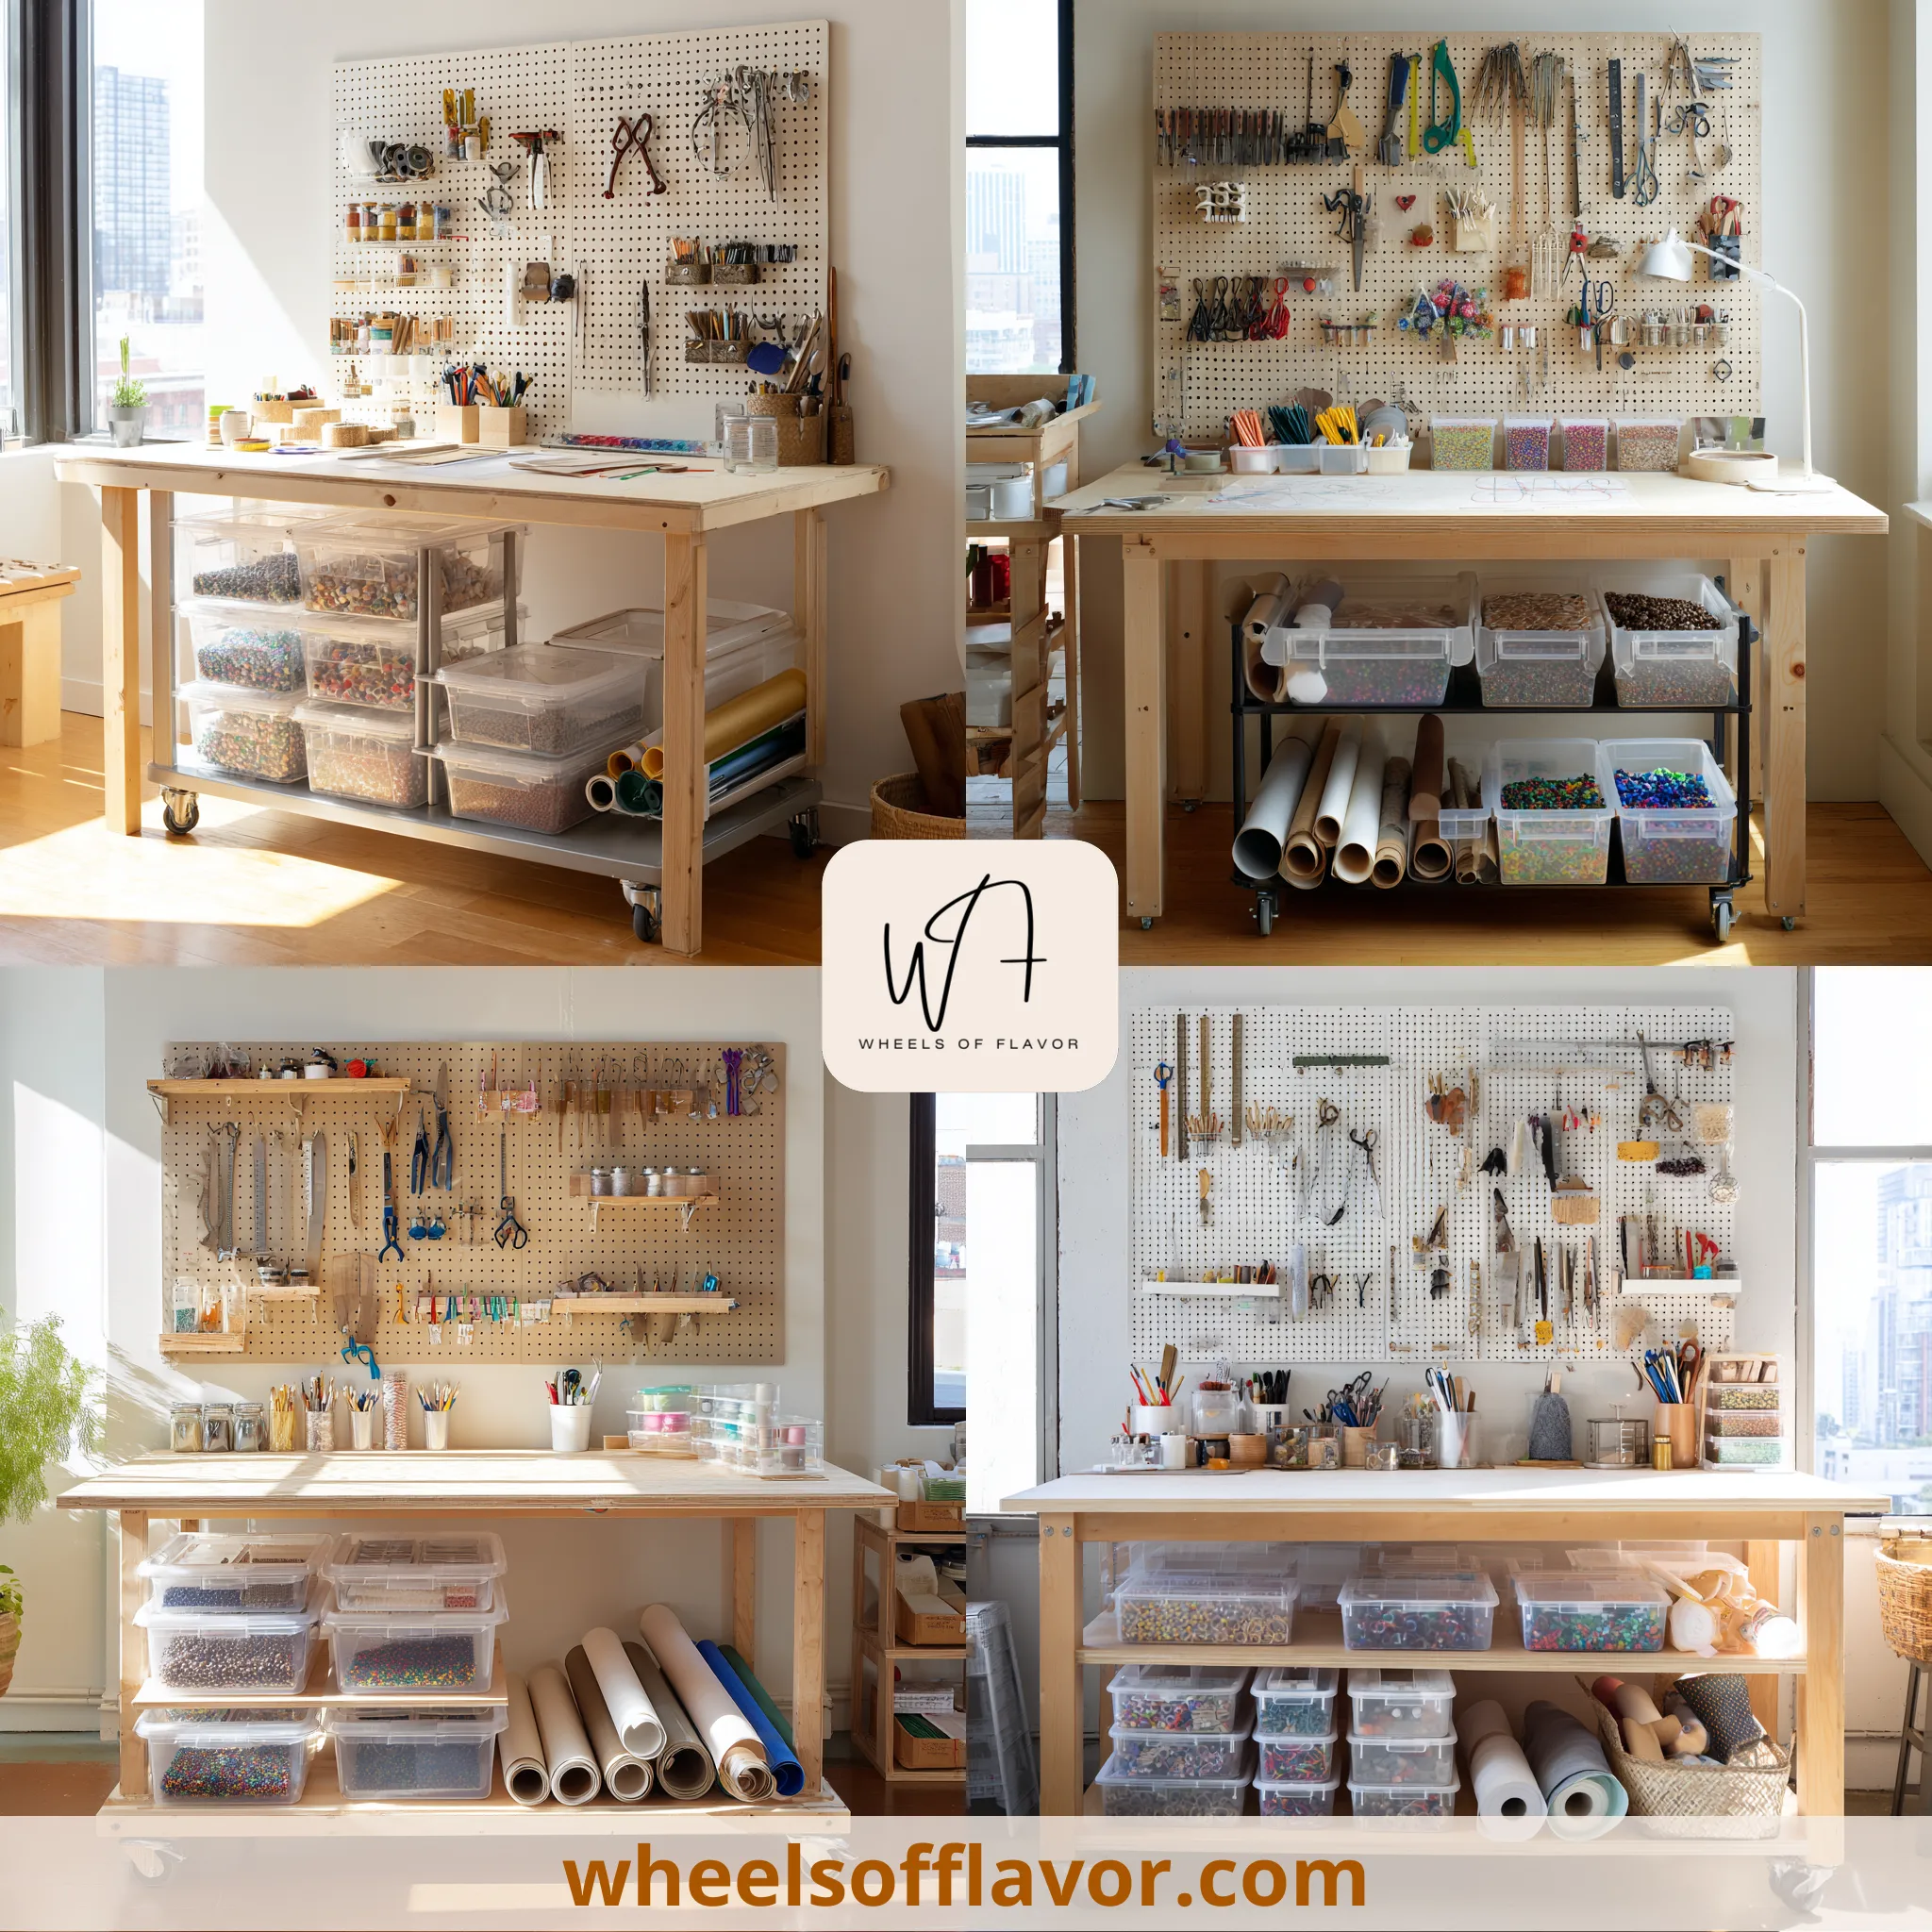
DIY Crafting Table Organization: The Foundation
The first step to a perfectly organized crafting table is establishing a solid foundation. Start by clearing off your table and assessing what you truly need within arm's reach. Utilize drawer dividers or small bins to categorize items like scissors, glue, and markers. Consider a pegboard for tools you use frequently, ensuring they're both accessible and neatly displayed. Remember, the goal is to create a space that fosters creativity, not frustration. For more inspiration on organizing small spaces, check out this helpful guide from a high-authority blog on home organization.
Maximizing Space with DIY Crafting Table Organization
Even the smallest crafting table can feel spacious with the right organization strategies. Vertical storage is your best friend—think shelves above the table or hanging organizers on the wall. Magnetic strips can hold metal tools, freeing up precious table space. Don't overlook the potential of the area beneath your table; a rolling cart can store supplies and be wheeled out when needed. By thinking vertically and utilizing often-overlooked spaces, you can dramatically increase your crafting area's functionality.
DIY Crafting Table Organization: Maintaining Your System
Creating an organized crafting table is one thing; keeping it that way is another. Implement a 'clean as you go' policy to prevent clutter from building up. At the end of each crafting session, take a few minutes to return tools and materials to their designated spots. Labeling bins and drawers can also help maintain order, making it easier to find what you need next time. Remember, an organized space is a productive space. For more tips on maintaining an organized home, visit https://wheelsofflavor.com/.
Conclusion
Organizing your DIY crafting table doesn't have to be a daunting task. With these 13 genius hacks, you can create a space that not only looks great but also enhances your crafting efficiency and creativity. Remember, the key to successful organization is finding a system that works for you and sticking to it. As you continue to craft and create, your needs may change—be flexible and adjust your organization strategies accordingly. Here's to a clutter-free, inspiring crafting space that brings your creative visions to life.
Frequently Asked Questions
Q: How often should I reorganize my crafting table?
It depends on how frequently you use your crafting table and how your crafting needs evolve. A good rule of thumb is to reassess your organization system every few months or whenever you find it's no longer serving your needs effectively.
Q: What's the best way to organize small crafting supplies?
Small crafting supplies can be organized in clear, labeled containers or compartmentalized boxes. This not only keeps them tidy but also makes it easy to see what you have at a glance.
Q: Can I organize my crafting table on a budget?
Absolutely! Many organizing solutions, like repurposing household items or DIY storage projects, can be done on a budget. The key is creativity—both in crafting and in organizing your space.