

Embarking on a shower caulk DIY project can seem daunting, but it’s a crucial maintenance task that protects your bathroom from water damage and mold. Whether you’re a seasoned DIY enthusiast or a beginner, understanding the ins and outs of shower caulking is essential. This guide will walk you through everything you need to know to achieve a professional-looking finish, ensuring your shower remains watertight and visually appealing. With the right tools, materials, and techniques, you can save money and extend the life of your shower. Let’s dive into the world of shower caulk DIY and transform your bathroom into a pristine space.
Choosing the Right Shower Caulk for Your DIY Project
Selecting the appropriate caulk is the first step toward a successful shower caulk DIY project. Silicone-based caulks are preferred for showers due to their waterproof and mold-resistant properties. However, for those seeking easier application and cleanup, silicone-latex hybrids offer a good balance. Consider the color of the caulk to ensure it matches your tiles or shower base. Additionally, look for caulks with added mildewcides for extra protection in the humid bathroom environment. Remember, the right product can make all the difference in durability and appearance.
Step-by-Step Guide to Applying Shower Caulk Like a Pro
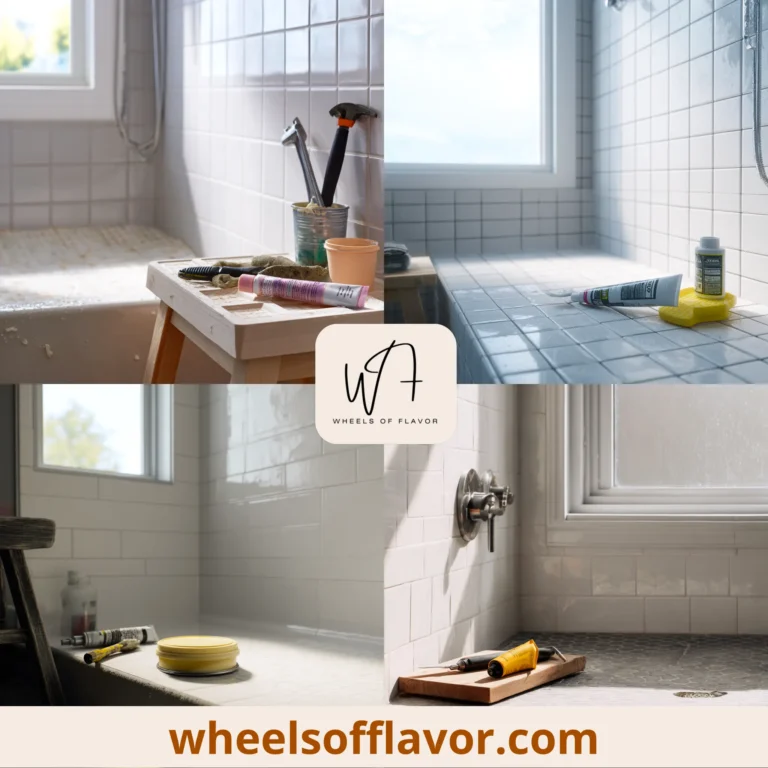
Applying shower caulk requires precision and patience. Start by removing old caulk and cleaning the area thoroughly to ensure optimal adhesion. Use a caulk gun for even application, and consider taping off the edges for clean lines. Smooth the caulk with a wet finger or tool for a professional finish. Allow sufficient drying time before exposing the caulk to water. This meticulous approach ensures a long-lasting seal that keeps your shower looking great and functioning properly.
Common Shower Caulk DIY Mistakes to Avoid
Even with the best intentions, it's easy to make mistakes during a shower caulk DIY project. Overlooking the importance of surface preparation can lead to poor adhesion and premature failure. Applying too much caulk not only looks messy but can also hinder drying. Ignoring the manufacturer's instructions regarding drying times and water exposure can compromise the caulk's effectiveness. By being aware of these common pitfalls, you can ensure your DIY efforts yield the best possible results.
Conclusion
Mastering shower caulk DIY is an invaluable skill that enhances your home's functionality and aesthetics. By choosing the right materials, following a detailed application process, and avoiding common mistakes, you can achieve a flawless finish that stands the test of time. This project not only saves you money but also empowers you with the knowledge to tackle future home maintenance tasks with confidence. For more DIY tips and tricks, check out our guide on budget-friendly home improvements. Remember, a little effort goes a long way in preserving the beauty and integrity of your bathroom.
Frequently Asked Questions
Q: How long should shower caulk dry before using the shower?
Most shower caulks require at least 24 hours to dry completely before being exposed to water. However, it's best to check the manufacturer's recommendations for the specific product you're using, as drying times can vary.
Q: Can I paint over shower caulk?
Silicone-based caulks cannot be painted, but silicone-latex hybrids may be paintable after they've fully cured. Always check the product label to confirm if the caulk is paintable and wait the recommended time before applying paint.
Q: How often should shower caulk be replaced?
Shower caulk should be inspected annually for signs of wear, such as cracking or mold growth. Typically, it's advisable to replace shower caulk every 5 to 10 years, depending on the product's quality and the bathroom's conditions.