

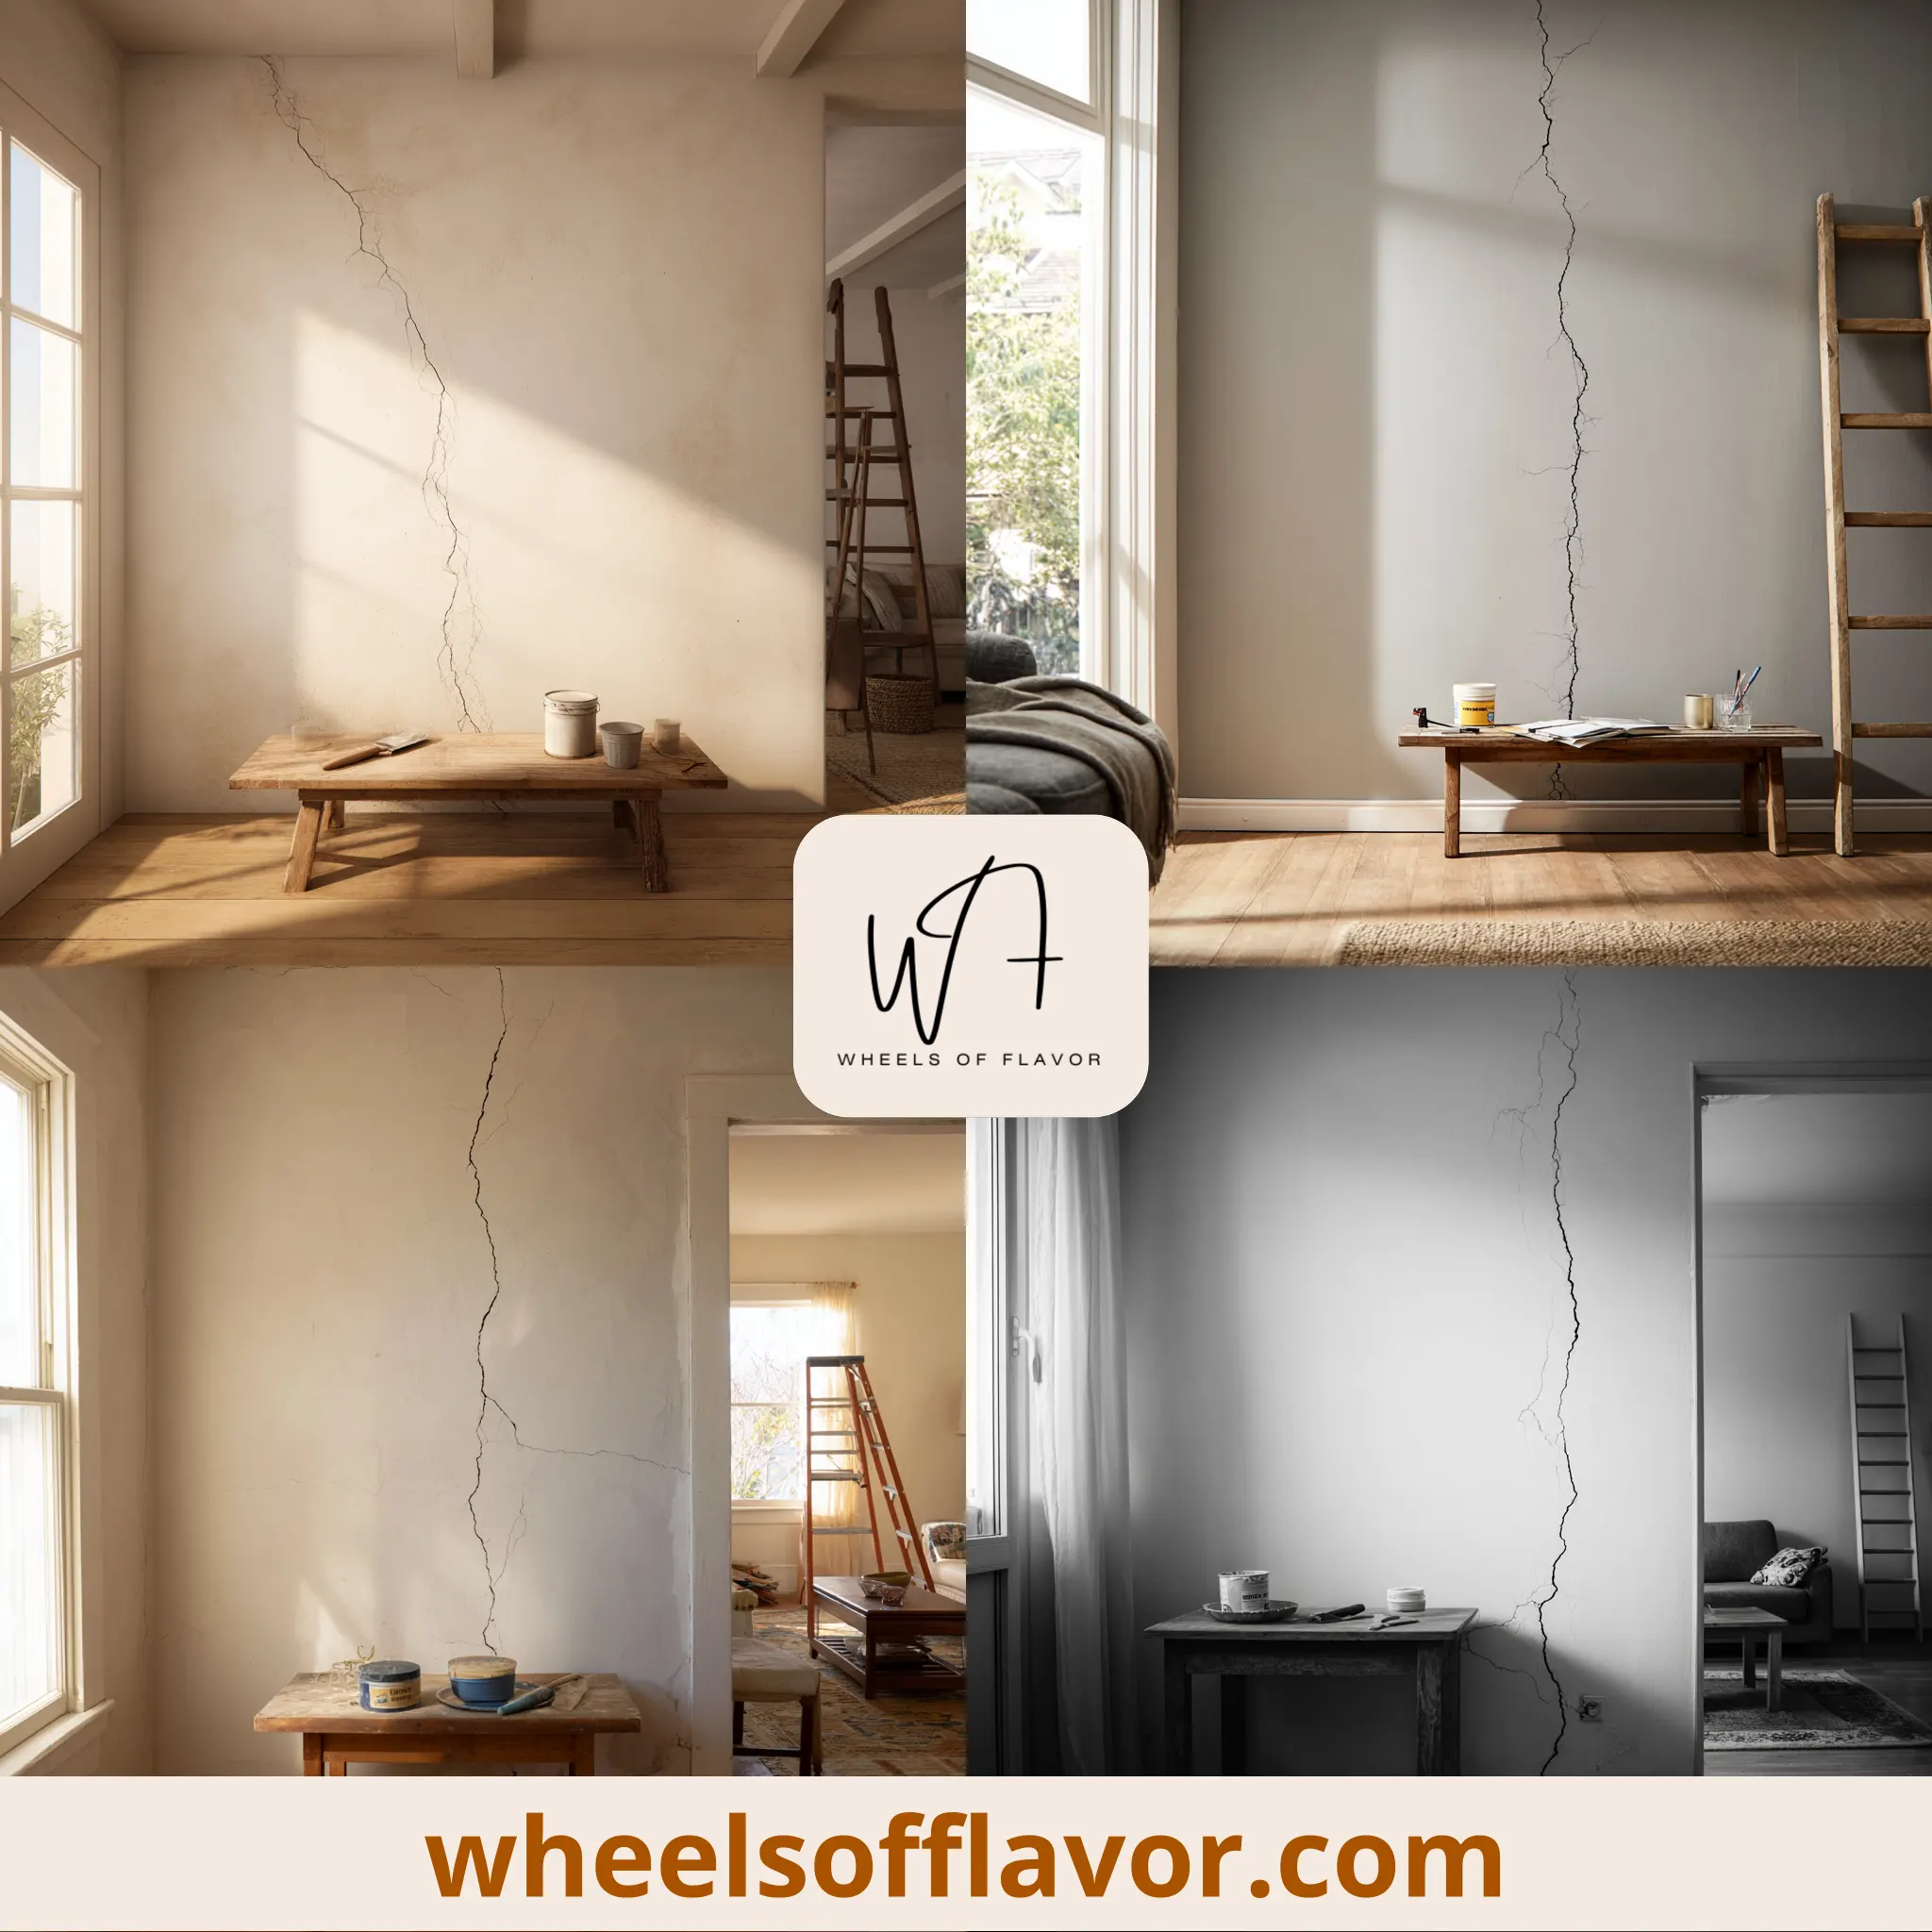
Discovering cracks in your walls can be alarming, but fear not! With the right tools and a bit of know-how, you can tackle wall cracks repair DIY style in just 60 minutes. Not only does this save you money, but it also prevents further damage to your home. Cracks in walls are common and can be caused by various factors, including settling, temperature changes, or moisture. Ignoring them can lead to more significant issues, making early repair crucial. This guide will walk you through identifying the type of crack you’re dealing with and the best methods to fix it, ensuring your home remains safe and sound.
Identifying the Types of Wall Cracks for Effective DIY Repair
Before diving into wall cracks repair DIY, it's essential to identify the type of crack you're dealing with. Hairline cracks are thin and superficial, often caused by paint or plaster drying. Structural cracks are wider and may indicate serious foundation issues. For DIY repairs, focus on non-structural cracks. Use a flashlight to examine the crack's width and length. If the crack is less than 1/8 inch wide, it's likely suitable for a DIY fix. Remember, safety first: if you suspect structural damage, consult a professional.
Essential Tools and Materials for Wall Cracks Repair DIY
To successfully repair wall cracks DIY, you'll need a few essential tools and materials. These include a putty knife, sandpaper, spackling paste or joint compound, and paint to match your wall. For larger cracks, consider using a mesh tape for added strength. Preparation is key: clean the crack with a brush to remove dust and loose particles. Apply the spackling paste with your putty knife, smooth it out, and let it dry before sanding. Finally, touch up with paint for a seamless finish. This process not only fixes the crack but also restores your wall's aesthetic appeal.
Step-by-Step Guide to DIY Wall Crack Repair in 60 Minutes
Ready to fix those wall cracks DIY style? Here's a quick 60-minute guide. Start by preparing the crack as mentioned above. Apply the spackling paste or joint compound, ensuring it fills the crack completely. For wider cracks, apply mesh tape before the paste. Once dry, sand the area smooth. Apply a second coat if necessary, sand again, and finish with paint. This straightforward process can be completed in an hour, leaving your walls looking as good as new. Remember, patience and attention to detail are your best tools for a flawless finish.
Conclusion
Wall cracks repair DIY is a manageable task that can save you time and money while preserving the integrity of your home. By identifying the type of crack, gathering the right tools, and following a step-by-step approach, you can achieve professional-looking results in just 60 minutes. Regular maintenance and early intervention are key to preventing minor cracks from becoming major problems. For more DIY home improvement tips, check out our guide on wheelsofflavor.com. Embrace the DIY spirit and keep your home in top shape!
Frequently Asked Questions
Q: Can all wall cracks be repaired DIY?
Most non-structural wall cracks can be repaired DIY, especially if they're hairline or less than 1/8 inch wide. However, if you notice large, widening cracks or signs of structural damage, it's best to consult a professional.
Q: What's the best time to repair wall cracks?
The best time to repair wall cracks is during dry conditions when the crack is not expanding or contracting due to temperature changes. This ensures the repair material adheres properly and lasts longer.
Q: How long does DIY wall crack repair last?
With proper preparation and application, DIY wall crack repairs can last several years. Regular inspections and maintenance can help prolong the repair's lifespan and prevent new cracks from forming.