

Weatherstripping is a simple yet effective way to enhance your home’s comfort and energy efficiency. By sealing gaps around doors and windows, you can prevent drafts, reduce energy bills, and keep your living space cozy year-round. This DIY project is not only budget-friendly but also a great way to contribute to environmental conservation by minimizing energy waste. Whether you’re a seasoned DIY enthusiast or a beginner, our guide will walk you through the essentials of weatherstripping, ensuring your home is snug and energy-efficient with just a few easy steps.
Understanding Weatherstripping DIY Basics
Before diving into your weatherstripping project, it's crucial to understand the basics. Weatherstripping involves applying materials to the moving parts of doors and windows to seal gaps that let in air. The right materials can vary based on the location and size of the gap, as well as the door or window's operation. Common materials include foam tape, V-strip, and door sweeps. Selecting the appropriate type is the first step toward a successful DIY weatherstripping project that enhances your home's energy efficiency.
Step-by-Step Guide to Weatherstripping DIY
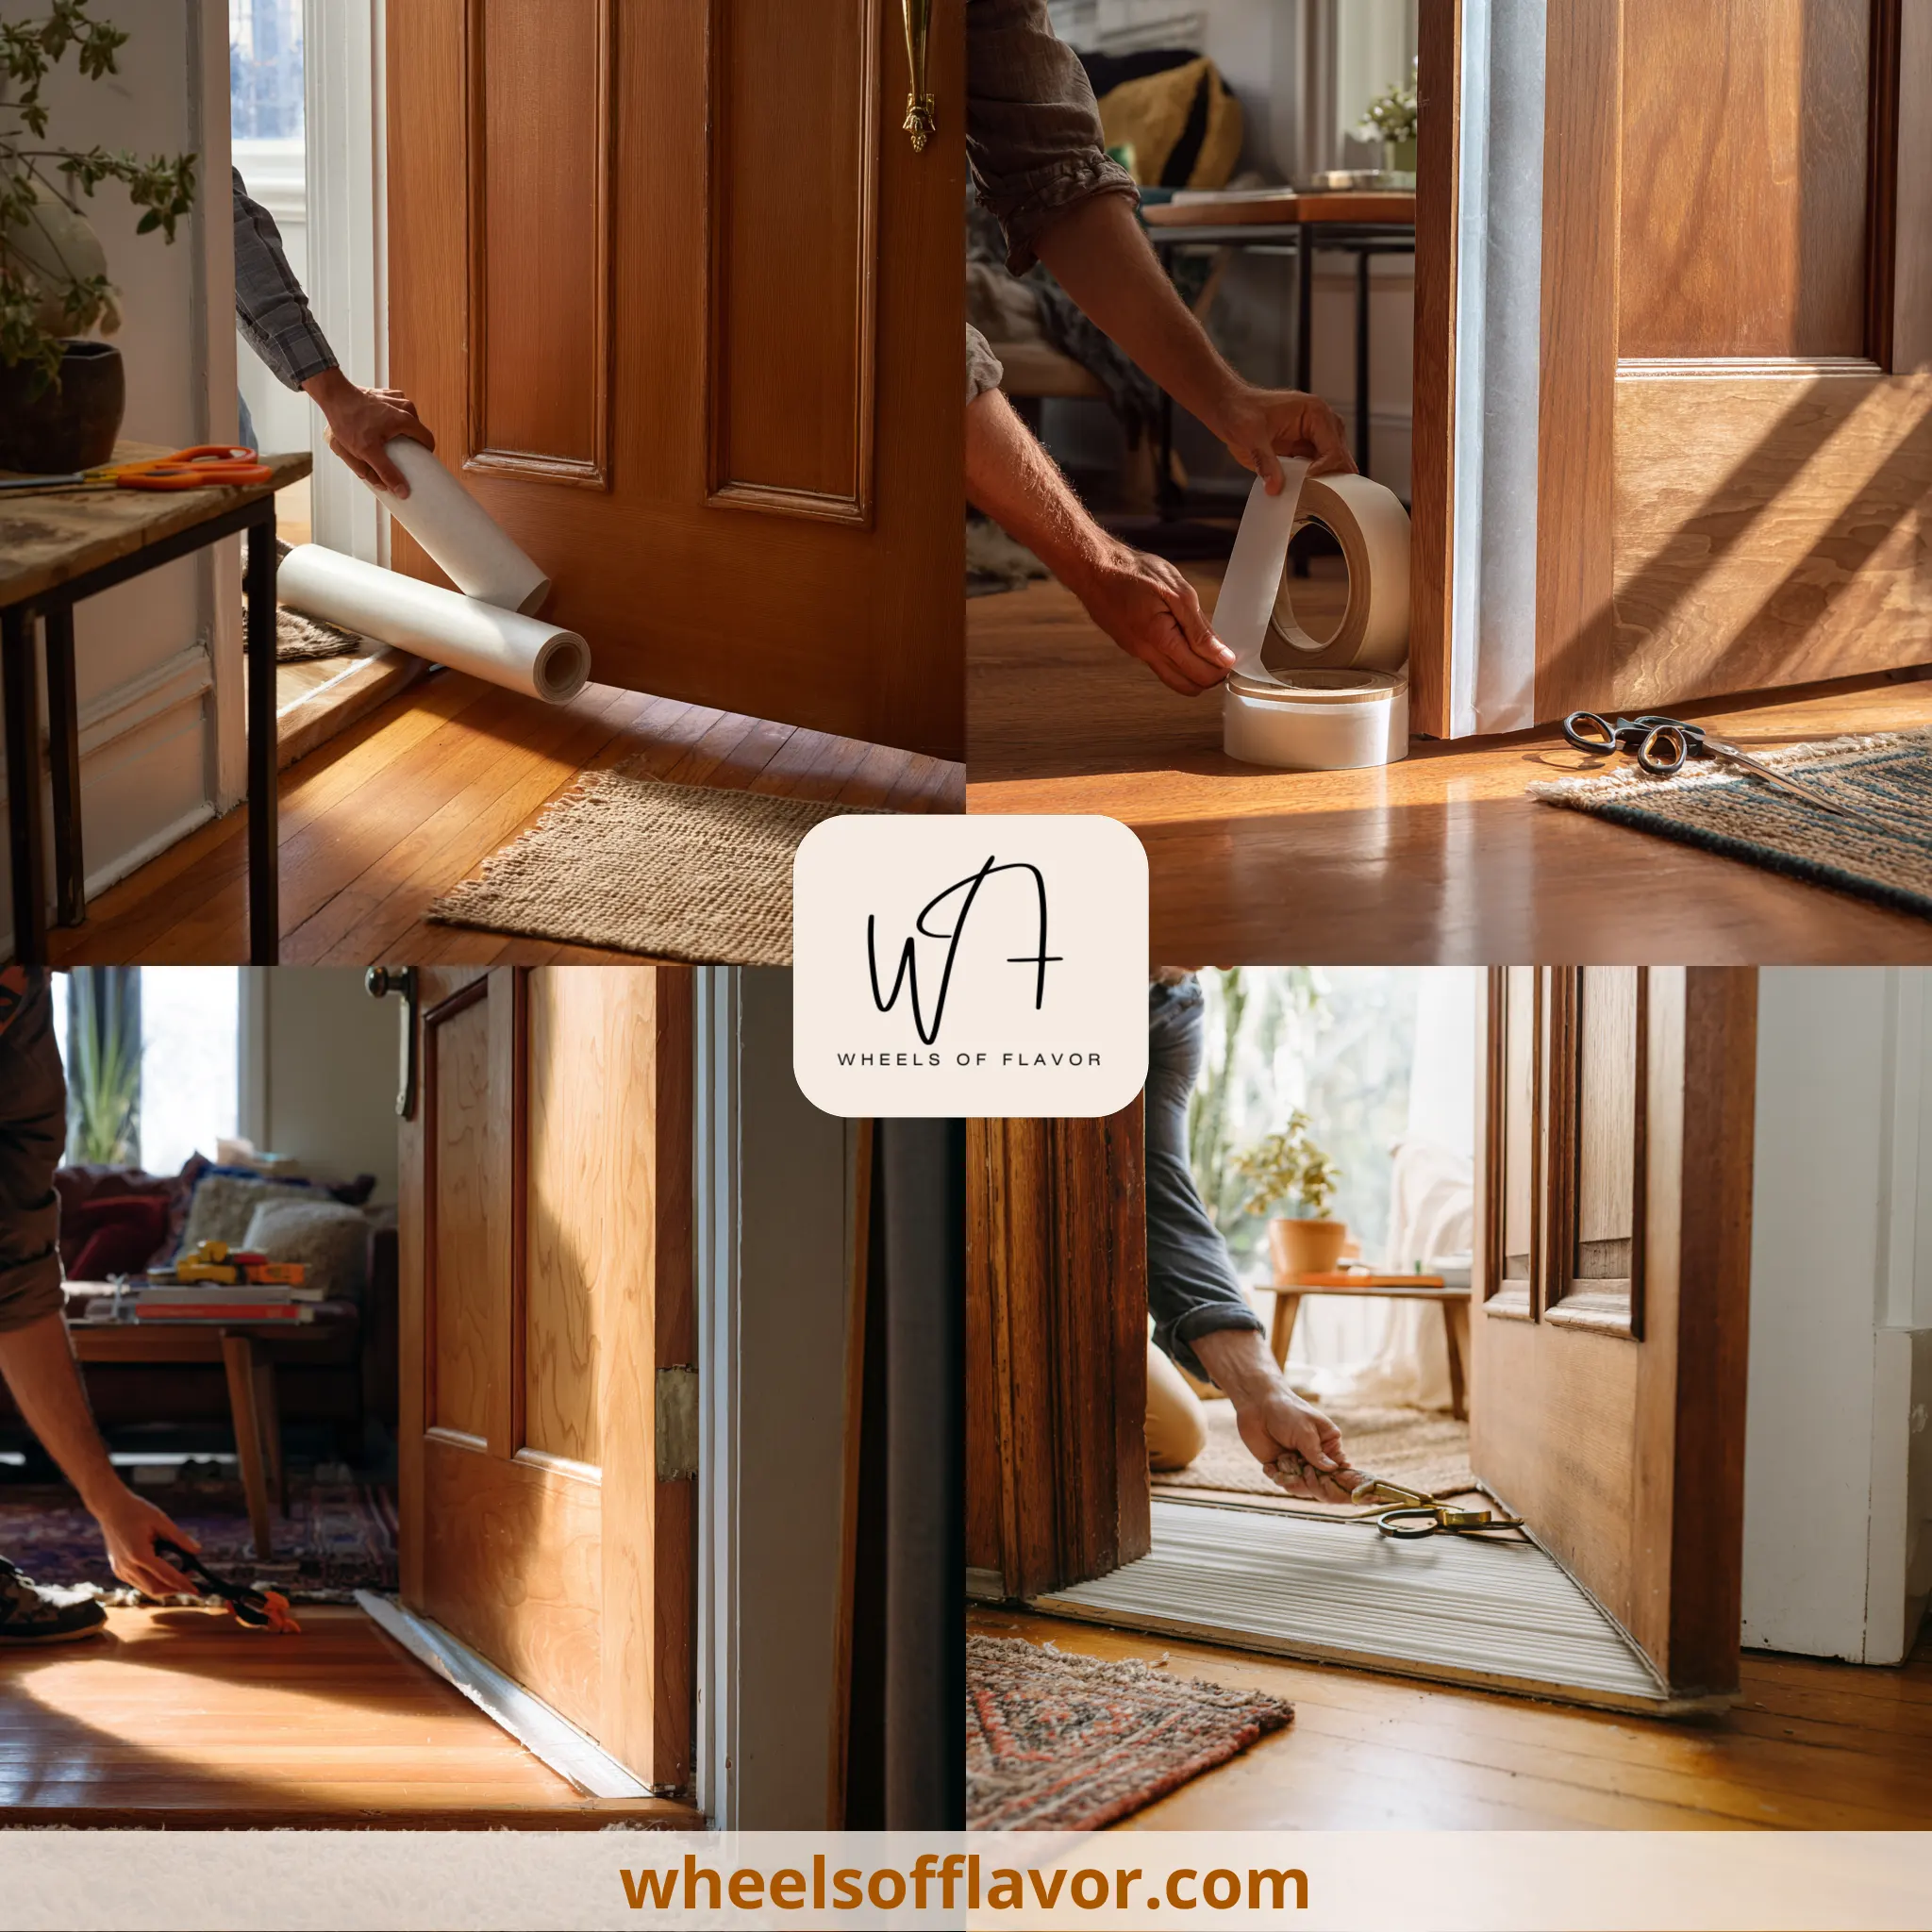
Embarking on a weatherstripping DIY project can seem daunting, but with the right approach, it's straightforward. Start by inspecting all doors and windows for drafts. Clean the surfaces where you'll apply weatherstripping to ensure adhesion. Measure the gaps carefully to choose the correct material thickness. Apply the weatherstripping according to the manufacturer's instructions, ensuring a tight seal without hindering operation. This process not only improves your home's comfort but also its energy efficiency, making it a rewarding DIY project.
Choosing the Right Materials for Your Weatherstripping DIY Project
The success of your weatherstripping DIY project heavily depends on selecting the right materials. Factors to consider include the size of the gap, the door or window's movement, and the local climate. Foam tape is ideal for irregular gaps and is easy to apply, while V-strip works well for sash windows. For the bottom of doors, a door sweep or threshold seal can block drafts effectively. Investing in quality materials ensures durability and long-term energy savings, making your DIY effort truly worthwhile.
Conclusion
Weatherstripping is an invaluable DIY project that boosts your home's energy efficiency and comfort. By understanding the basics, following a step-by-step guide, and choosing the right materials, you can effectively seal drafts and reduce energy costs. As we look toward a future where energy conservation is increasingly important, taking steps like weatherstripping can make a significant difference. Start your project today and enjoy a cozier, more energy-efficient home tomorrow.
Frequently Asked Questions
Q: How often should weatherstripping be replaced?
Weatherstripping should be inspected annually and replaced every 1-3 years, depending on the material and wear. Signs of damage or gaps indicate it's time for a replacement.
Q: Can weatherstripping save money on energy bills?
Yes, by sealing leaks around doors and windows, weatherstripping can significantly reduce heating and cooling costs, saving you money in the long run.
Q: Is weatherstripping a good DIY project for beginners?
Absolutely! Weatherstripping is a straightforward DIY project that requires minimal tools and materials, making it perfect for beginners looking to improve their home's energy efficiency.