

Weatherstripping windows is a critical yet often overlooked aspect of home maintenance that can significantly impact your comfort and energy bills. With the right materials and techniques, you can effectively seal out drafts, reduce noise, and maintain a consistent indoor temperature. This not only enhances your living environment but also contributes to substantial energy savings. In this article, we’ll explore the importance of weatherstripping, the best materials to use, and step-by-step guidance to ensure your windows are perfectly sealed. Whether you’re dealing with old, drafty windows or looking to improve your home’s energy efficiency, these 53 tips will guide you through the process of weatherstripping your windows like a pro.
Why Weatherstripping Windows is a Game-Changer for Your Home
Weatherstripping windows is more than just a DIY task; it's a strategic move towards energy efficiency and comfort. By sealing gaps around your windows, you prevent cold air from entering in the winter and keep cool air inside during the summer. This simple adjustment can lead to significant savings on your energy bills, with some homeowners reporting up to 20% reductions. Additionally, weatherstripping reduces outside noise, making your home a quieter, more peaceful place. It's a cost-effective solution that enhances your home's insulation without the need for expensive renovations.
Choosing the Right Weatherstripping Materials for Your Windows
Selecting the appropriate weatherstripping material is crucial for achieving the best results. Common options include adhesive-backed foam tape, V-strip, door sweeps, and silicone sealant. Each material has its advantages, depending on the window type and the size of the gaps you're addressing. For instance, adhesive-backed foam tape is easy to install and ideal for small gaps, while V-strip is perfect for sealing the sides of windows that slide. Consider factors like durability, ease of installation, and the climate in your area when choosing your weatherstripping materials.
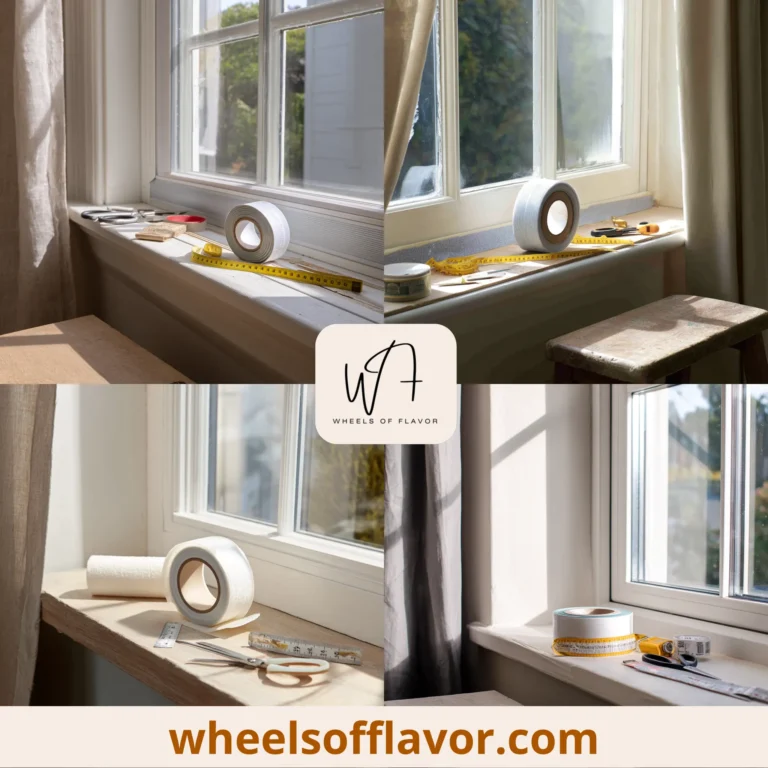
Step-by-Step Guide to Weatherstripping Your Windows
Weatherstripping your windows is a straightforward process that can be completed in a few hours. Start by cleaning the window frames thoroughly to ensure the weatherstripping adheres properly. Measure the gaps around your windows to determine the amount of material needed. Cut your chosen weatherstripping material to size and apply it carefully, ensuring a tight seal. Test the windows to make sure they open and close smoothly after installation. For best results, consider consulting a professional or referring to detailed guides like those found on high-authority DIY blogs.
Conclusion
Weatherstripping your windows is an effective way to enhance your home's energy efficiency, comfort, and noise reduction. By selecting the right materials and following the proper installation techniques, you can achieve significant improvements in your living environment. Remember, the key to successful weatherstripping lies in thorough preparation and careful application. As energy costs continue to rise, taking proactive steps like weatherstripping can lead to long-term savings and a more sustainable lifestyle. Start with these 53 tips and consider exploring more home improvement projects to further enhance your home's efficiency and comfort.
Frequently Asked Questions
Q: How often should I replace the weatherstripping on my windows?
Weatherstripping should be inspected annually and replaced every 1-3 years, depending on the material and exposure to elements. Signs of wear, such as cracks or gaps, indicate it's time for a replacement.
Q: Can weatherstripping windows reduce noise from outside?
Yes, weatherstripping can significantly reduce outside noise by sealing gaps where sound enters. For optimal noise reduction, combine weatherstripping with other soundproofing measures.
Q: Is weatherstripping a DIY project or should I hire a professional?
Weatherstripping is generally a DIY-friendly project, but hiring a professional may be beneficial for large or complex window setups. Consider your comfort level with home improvement tasks before deciding.